Whether you need a graphic approved for a brand campaign or a quick thumbs-up before sending an email blast, approvals are a part of everyday work.
But without a clear review process, work slows and communication gets hairy. With Airtable, you can give everyone an oversight of the status of your assets, assign items to specific reviewers, and even notify said reviewers when the items are ready.
With an approval system in Airtable, you can prevent bottlenecks and ensure everything gets out the door on time. Learn more below.
Set up your base for approvals
So you have a base filled with individual records that need to be approved. To have a working approval workflow in Airtable, you’ll need two elements:
- A way to signal that a record is ready to be approved
- A way to define who’s responsible for that approval
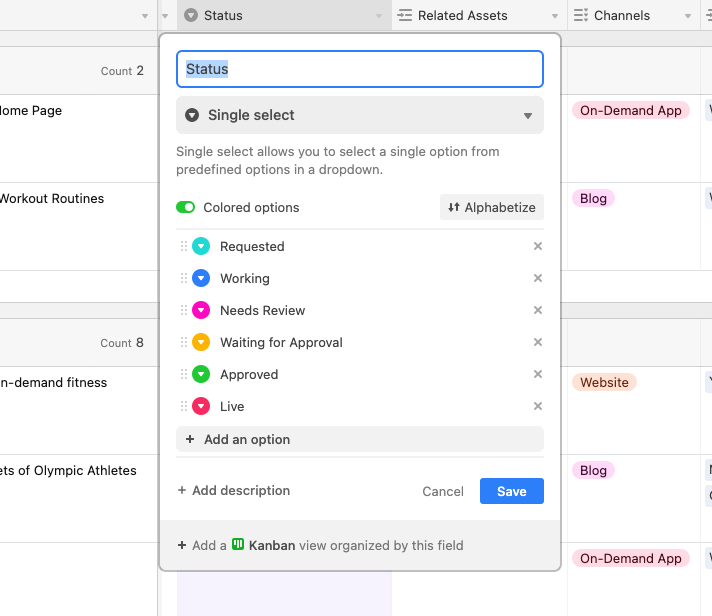
An easy way to let collaborators know when a record is ready for approval is by adding a single select field to your base, so you can denote the status of each record (ex. In writing, ready for review, approved, etc.) When a record is changed to “ready for review,” for example, this lets reviewers know it’s time to jump in. Add a collaborator field to your base so you can assign an approver to each record.
Now, approvers can quickly see which records belong to them, and when they’re ready for review–all at a glance.
Create views and interfaces for pending approvals
With Airtable, you have the flexibility to customize your collaborators’ review and approval experience. There are a few options we recommend to make reviewing records straightforward for approvers:
- Add a Kanban view: Stack records by status to see how many need to be reviewed. Simply drag and drop a record to the “approved” stack to change its status.
- Filter records in a new view: Create a new view and apply a filter that only shows records needing reviews and approvals.
- Create a record review interface: Use Interface Designer to create interfaces for reviews and approvals. Add conditions so reviewers can only see records that have been assigned to them and are ready for review. Add a button to make approvals as easy as a click of..well, a button.
How to notify reviewers
So you have your fields and views configured to simplify the approval process–great! Now, all you need is a way to notify reviewers when it’s time to look at assets.
In Airtable, you can set up automations to alert specific reviewers when input is needed, in the way they prefer to be alerted.
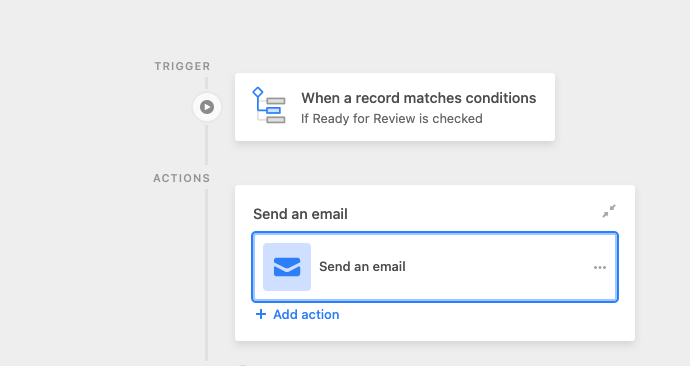
One way you can do this is by setting your automation trigger to “when a record matches conditions,” so that when a record’s status is changed to “ready for review,” the reviewer assigned to that record is contacted. Your action can be “send email,” “send Slack message,” or even “send SMS” through Twilio–adjust the notification according to your reviewer’s unique workflow.
Reviewers will now automatically be notified for approvals, saving everyone time and shuttling the approval process along smoothly.
Put these tips to the test! Create an interface in your base, or set up a Slack message automation to notify reviewers.