Managing freelancers effectively is a complex process for content marketing teams, requiring that you track their onboarding, assignments, and payments. But what if you could consolidate the moving parts into one place–and even automate some of this work to give time back to your team?
Airtable is ideal for managing freelancers because it can handle the entire process in one single place. With simple customizations, you can quickly create a vendor management app and share it with freelancers.
Getting started in Airtable
Getting started in Airtable is easier when you know what you want to track in your base. When it comes to managing freelancers (whether they’re writers, designers, or video producers), onboarding and assignment management are your key processes.
We recommend starting off by creating two tables in your freelancer management base: one for your freelancers’ contact and payment information and one for content assignments.
> Learn more about Airtable building basics
Getting your freelancers’ contact information in one place is essential for ensuring smooth communications and timely vendor processing. Try adding the following fields to your records:
- Single line text fields to capture each freelancer’s address, email, and phone number
- Attachment fields to upload documents for each freelancer, including SOWs, NDAs, and freelancer resumes/portfolios
When it comes to customizing your content assignment table, add these fields:
- User field to assign content to the right freelancers
- Date fields to denote start dates, due dates, and publishing dates
- Single select field to track the progress of an assignment (example options include “to do,” “in progress,” “in editing,” “ready to publish,” and “live”)
- Checkbox field that freelancers can check off once they’ve filed their invoice for a given assignment
✏️ Pro tip: Each record has its own activity feed where you can see changes that have been made and add comments. This is a great space to communicate with freelancers about the status of their assignments and create a paper trail you can refer to later.
Speed up onboarding with a form
So you’ve added the right fields to your freelancer contact table–now you need a way to collect all of that data.
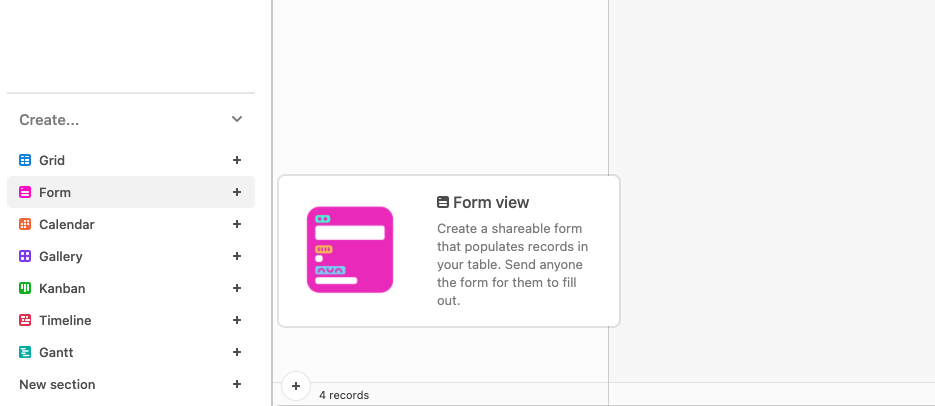
The fastest way to populate this table? Create a form that freelancers fill out.
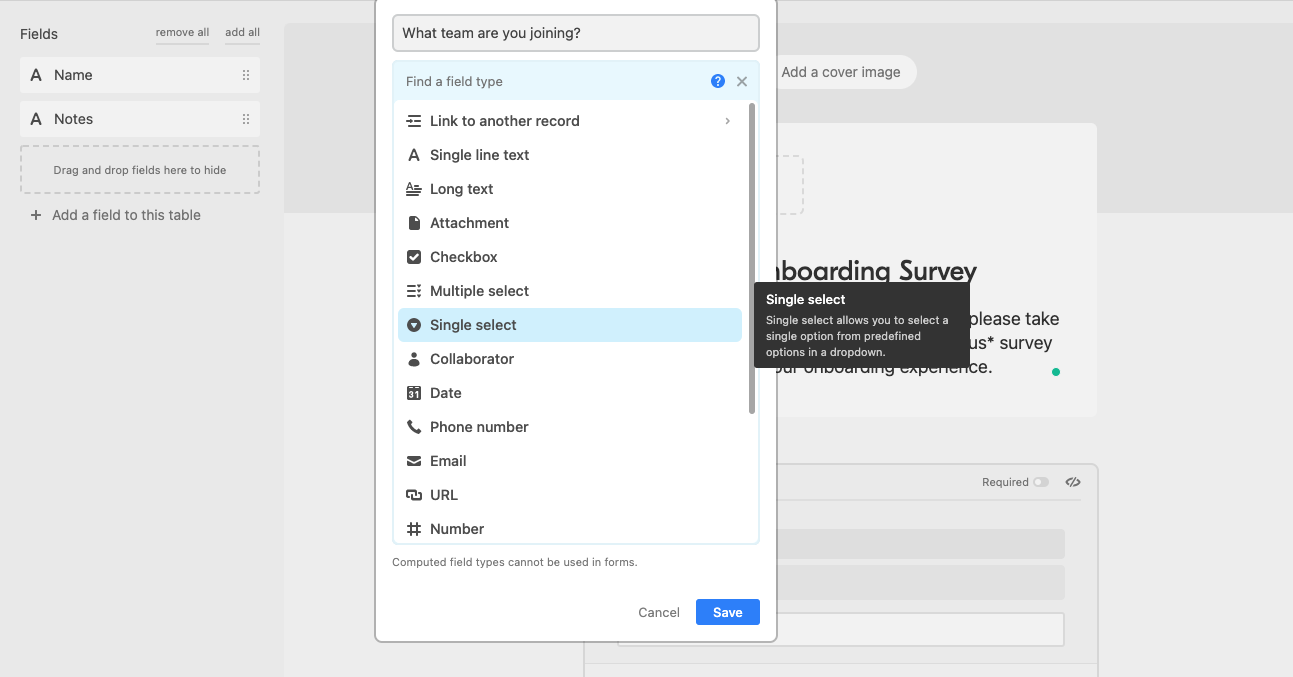
A Form View is just like how it sounds. It’s an Airtable view type that automatically feeds data users submit into a table. Each form submission becomes a new record in the table where the view was created.
With this view, you can create a straightforward onboarding process for freelancers while also reducing the manual labor involved in collecting this information by email or phone. Freelancers can fill in their contact information, payment details, and whatever else your company needs in one handy place, and voila! You’ve done it all while saving the freelancer–and yourself–rounds and rounds of back and forth.
You can also automatically send a notification to the freelancers’ emails with further instructions once they’ve submitted their form.
Automate notifications to keep work flowing
Creating a Form View to gather your freelancers’ information can drastically cut down on onboarding time. You can also make the content-production process more efficient with automations.
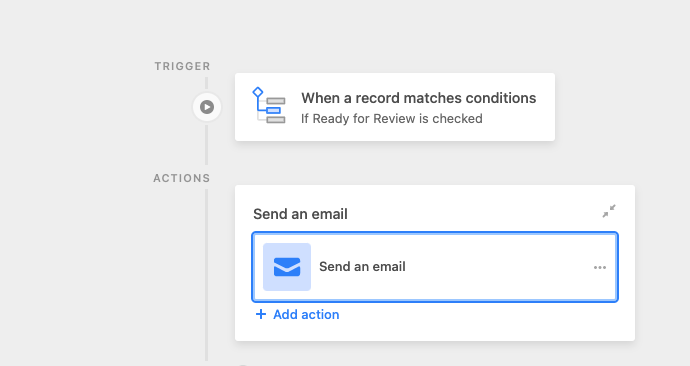
Automations are a powerful Airtable feature that, once configured, handle repetitive tasks for you, like generating new records or sending Slack messages. All you need to do is set up a trigger and an action–then, watch as your to-do list handles itself.
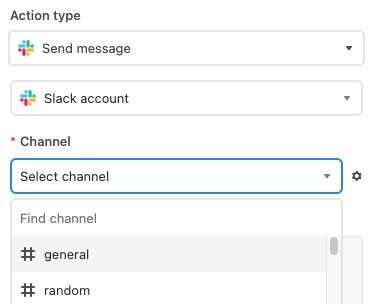
Automations can be an easy way to keep the content production process going smoothly and without stalling. Set up an automation that notifies you by email or Slack when a freelancer has changed the status of their assignment from “in production” to “ready for review,” and another that reminds freelancers to submit their invoices when their content is ready to be published.
By automating this work, you can get your content reviewed and out the door on time–and get freelancers paid in the process.
> Set up a Slack message automation
Make invoice submissions seamless with interfaces
Give freelancers an easy way to submit invoices–and stay on top of the budget. Airtable’s Interface Designer lets you build highly customizable apps for your team—and across your business—so you can create an invoice submission interface for freelancers in a matter of minutes.
Interfaces are built on base data and can be filtered for each user–meaning you can create personalized interfaces for each freelancer so they can see which assignments they need to file invoices for. That means all of your freelancers can use a single interface while only seeing the information that’s relevant to them, making it easy to take action.
And, for users on Pro and Enterprise plans, Interface Designer’s robust permissions settings (for Pro and Enterprise users) let you share interfaces with users without giving them full access to the data within your base. So if you have internal budget information, you can choose to hide that field from your interface so freelancers don’t see a thing.
With Interface Designer’s customization options, you can create the ideal place to ensure freelancers get paid without them seeing everything that goes on behind the scenes.
Onboarding freelancers and tracking their work doesn’t have to be a struggle. Use Airtable to manage your freelancer workflows quickly and efficiently so your relationships stay solid and content goes out on schedule.
Have blogs and videos that need reviewing? Check out our content marketing blog on how to manage content reviews in Airtable.