Airtable’s web clipper block comes with a handy Chrome extension that can quickly grab the contents of a web page and import them into Airtable. You can save any web content you like—clip images to serve as inspiration for creative work, sample ideas for blog content, press mentions for clients, or even little things like your favorite recipes.
With Airtable, you can organize whatever you’re working with in the way that makes the most sense for you and your team. And when you use the Airtable web clipper, your content will be saved into an Airtable base that you can set up exactly how you need it. You only need to include a few basic fields to hold your clipped content—the rest is up to you!
In this article, we’ll take a look at how you can set up a very simple bookmarking tool with web clipper that you can adapt to any use case. First we’ll set up a base with the basic fields needed to hold clipped content: page titles, URLs, page text (or notes), and an image or screenshot. After that, we’ll use web clipper to build a clip to capture this content and test it out.
With this basic setup in place, you can add additional fields to capture other kinds of content. While web clipper can directly identify the most common elements of a page, you can also utilize CSS selectors to tell it to focus on very specific elements to automatically grab what you need. You can also create fields that leave room for you to add information manually, such as tags and ratings.
Before we begin, please note that web clipper is an Airtable block and using any Airtable blocks requires an Airtable Pro plan account. Make sure you’ve upgraded your account, or are enjoying a trial of these features, before giving web clipper a try.
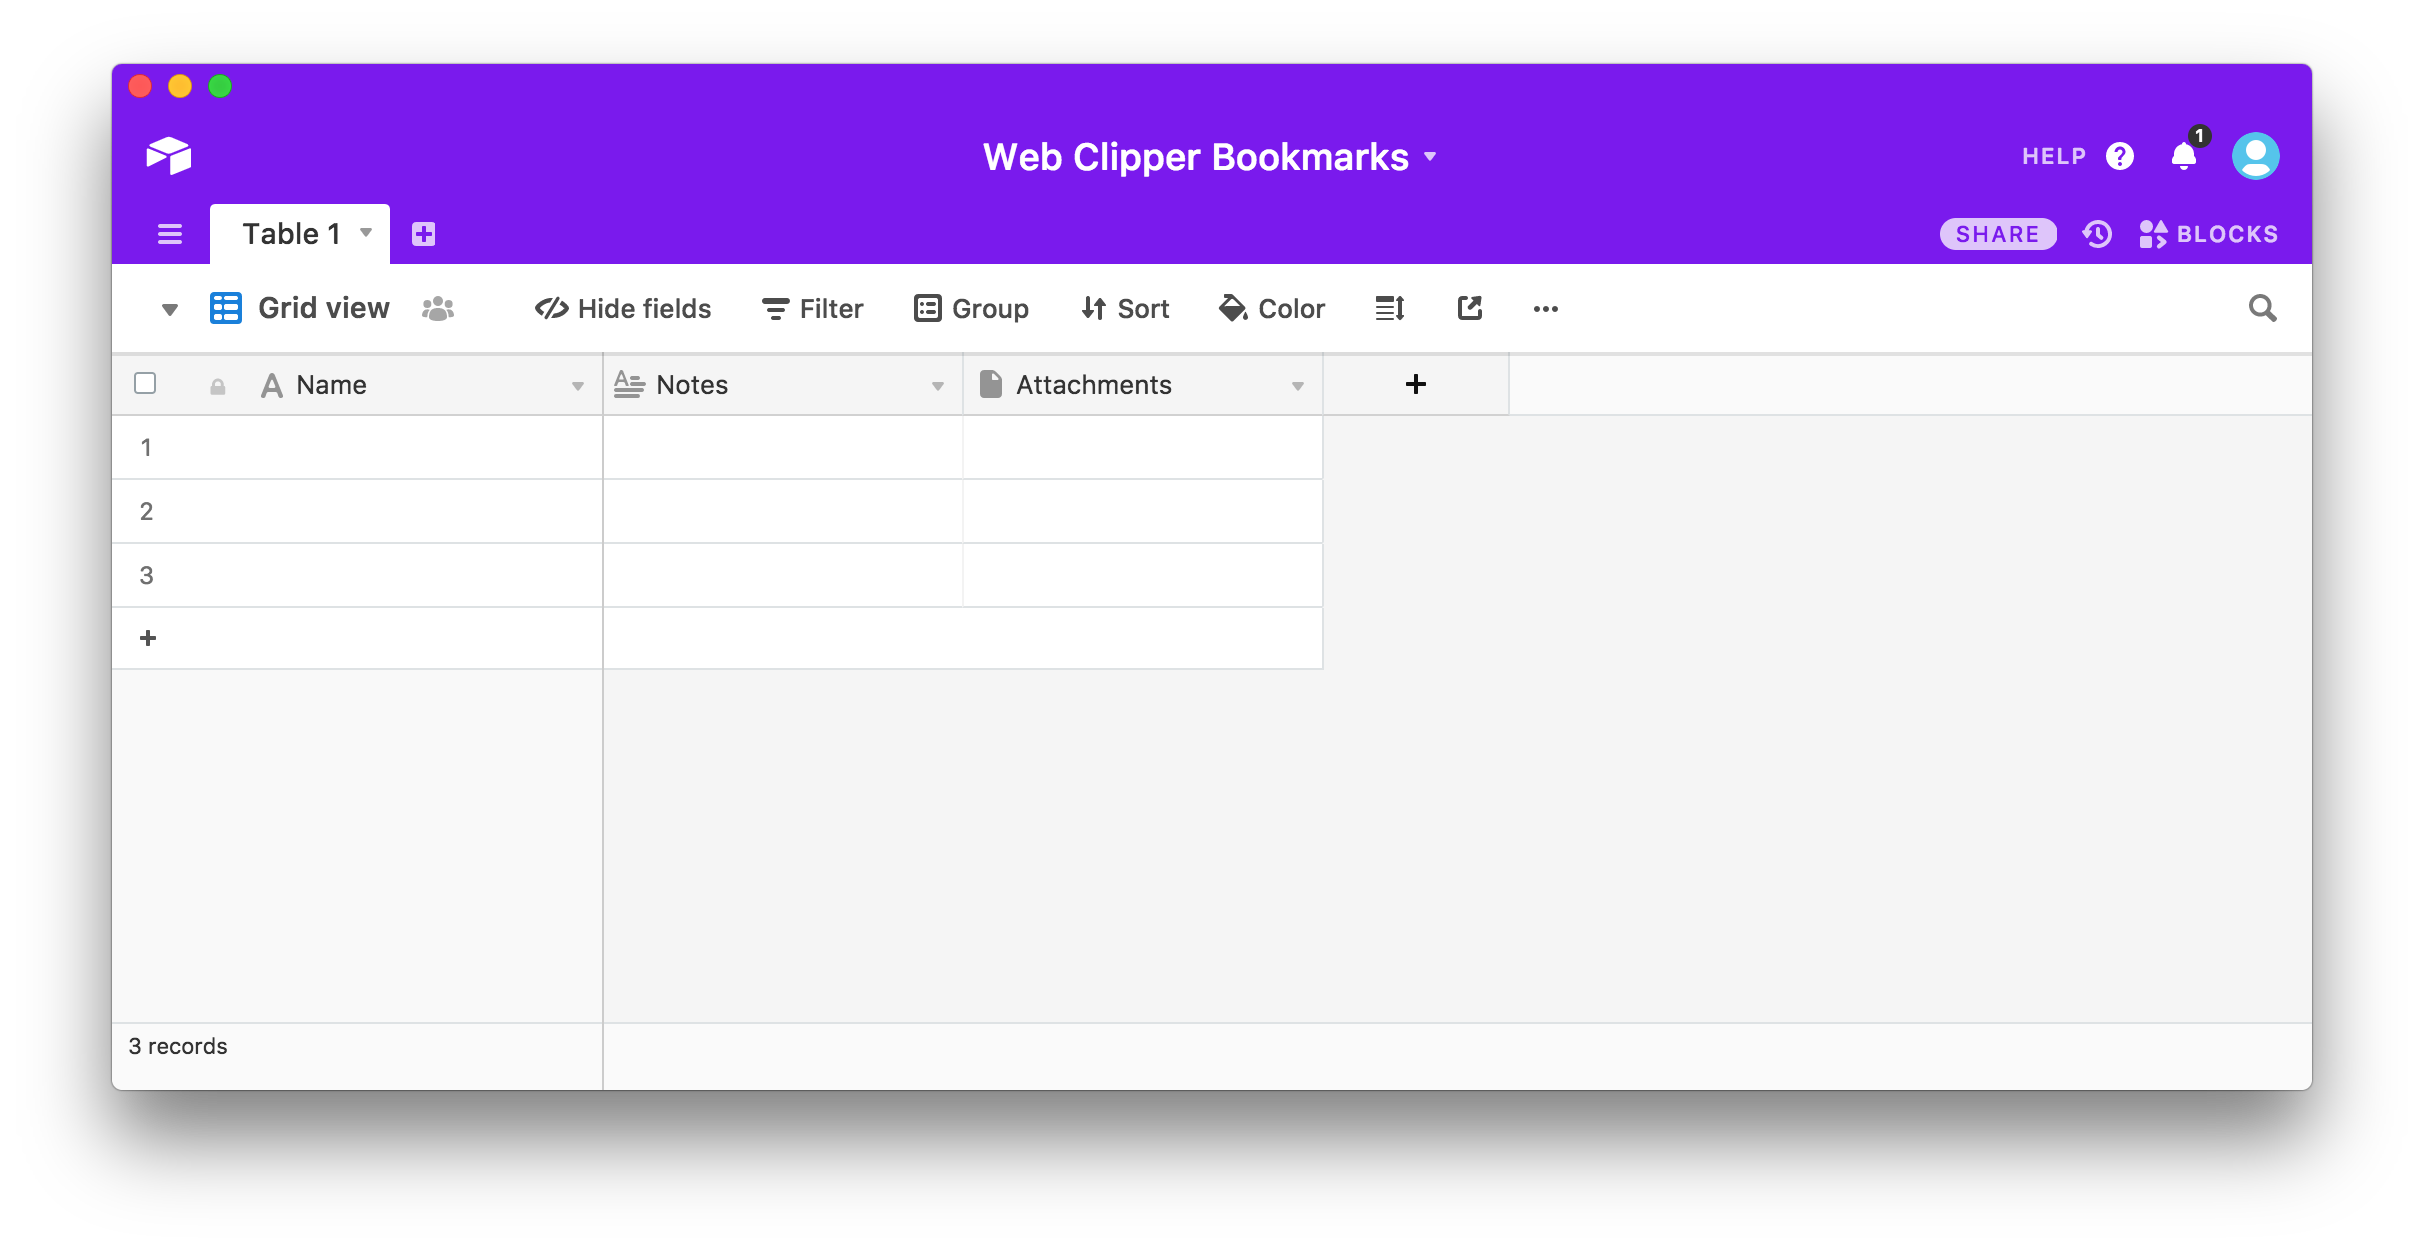
Step one: create a new base
Go ahead and create an Airtable base from scratch. The default fields supply most of what you need to get started, so we don’t even need to use a template. It should look something like this:
Next, add a new URL field. Also, feel free to update your field names and make any aesthetic changes you’d like to make to your new base.
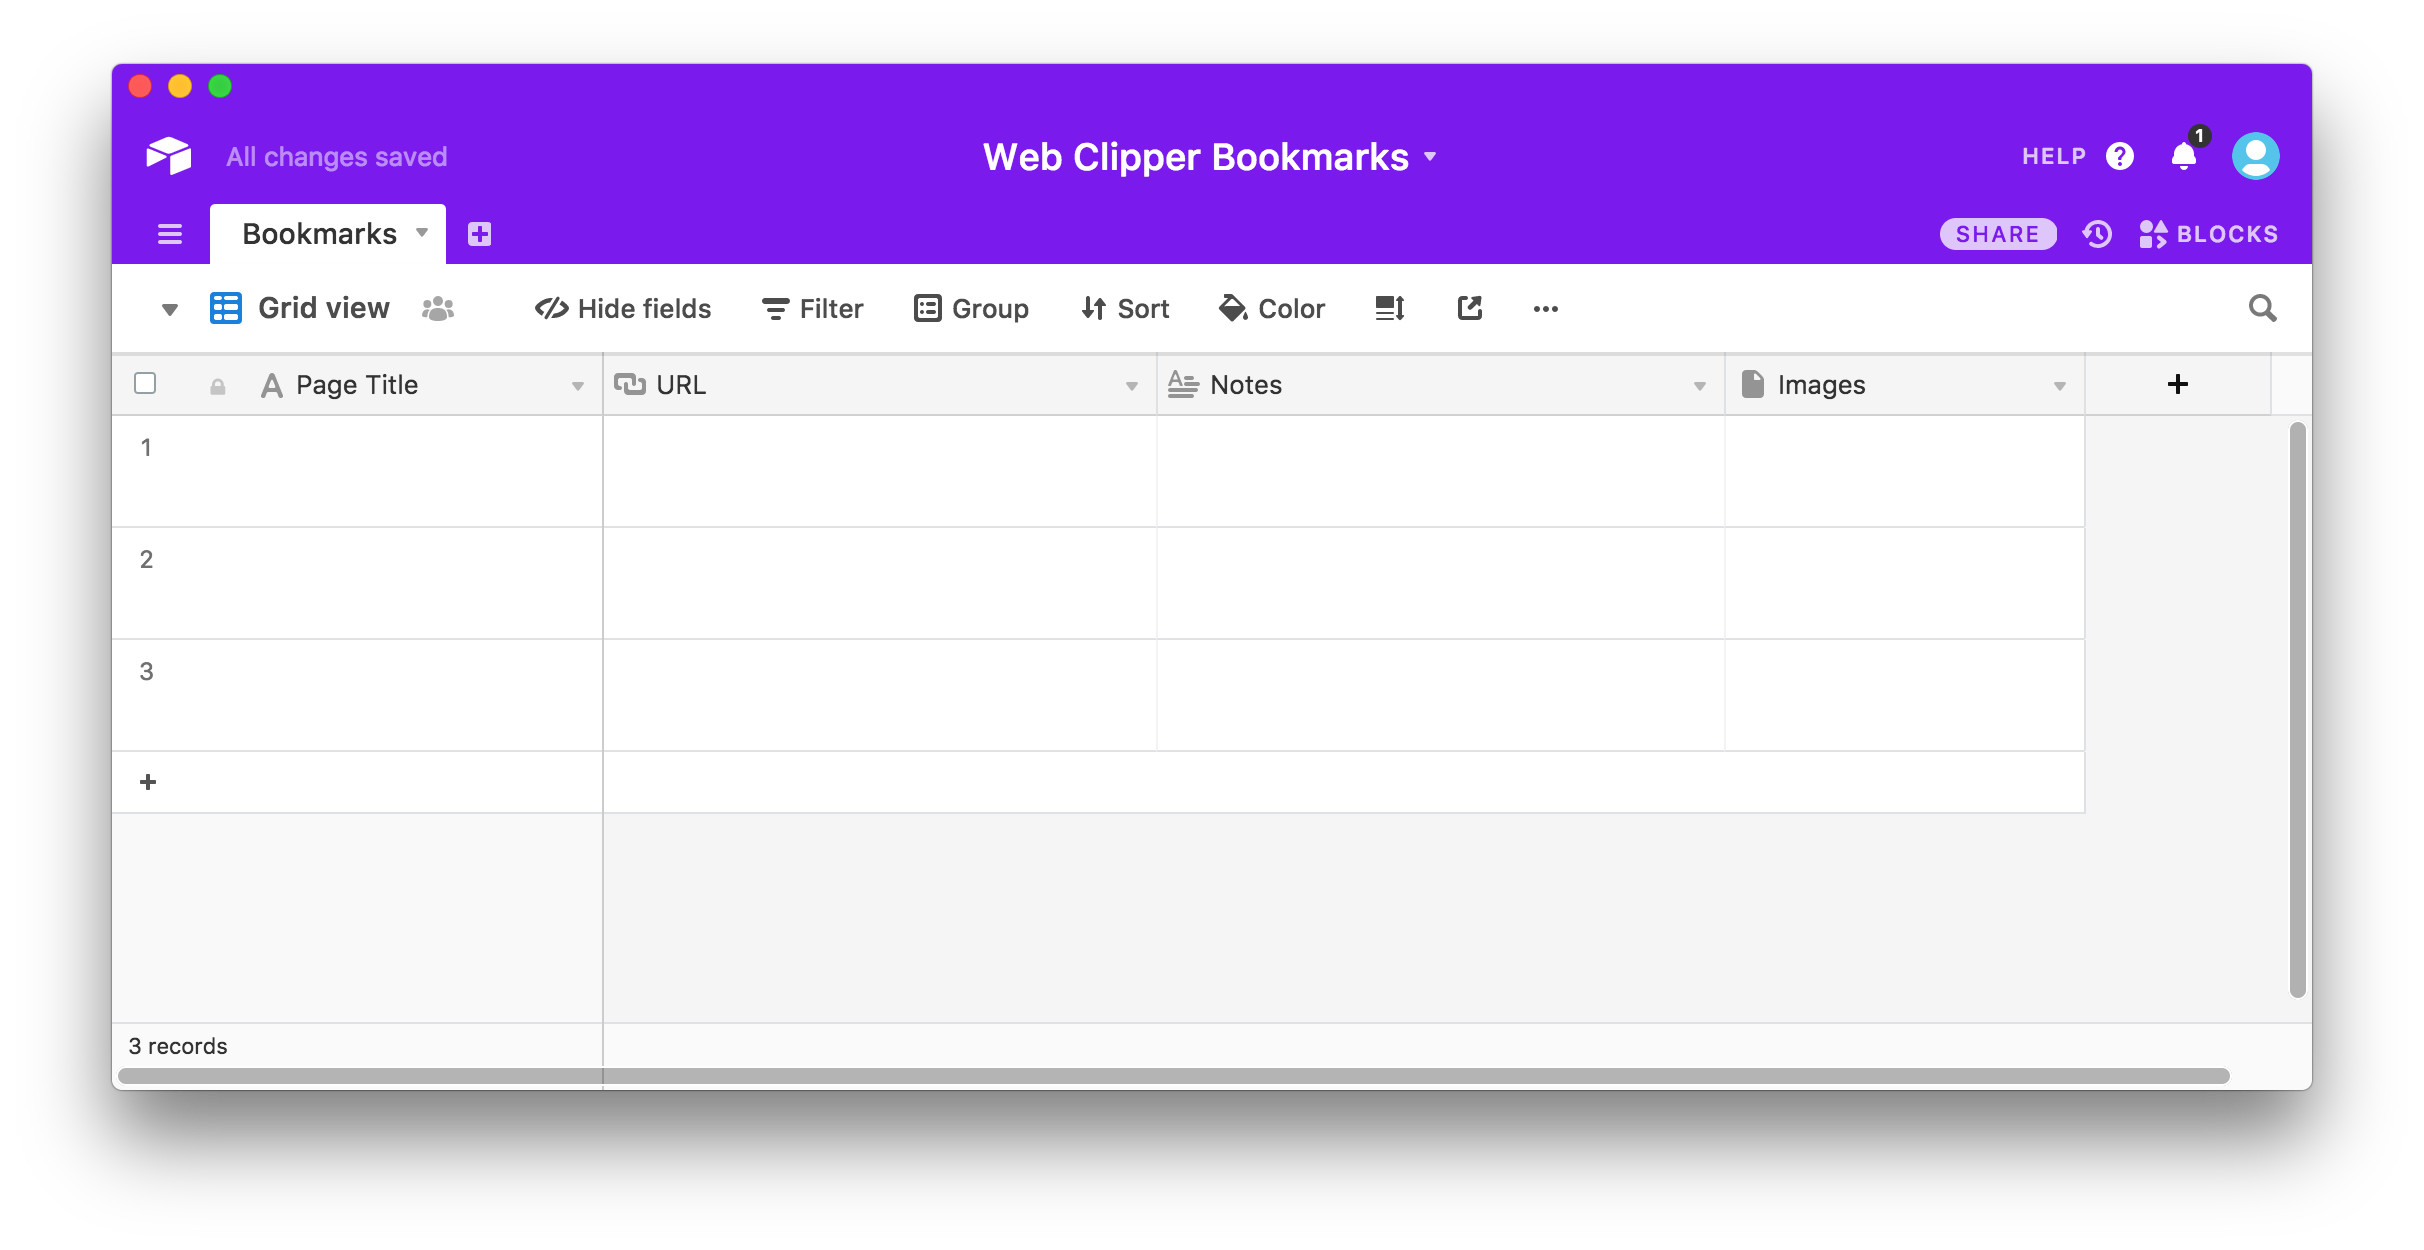
That’s all you have to do to set up a table to effectively use web clipper.
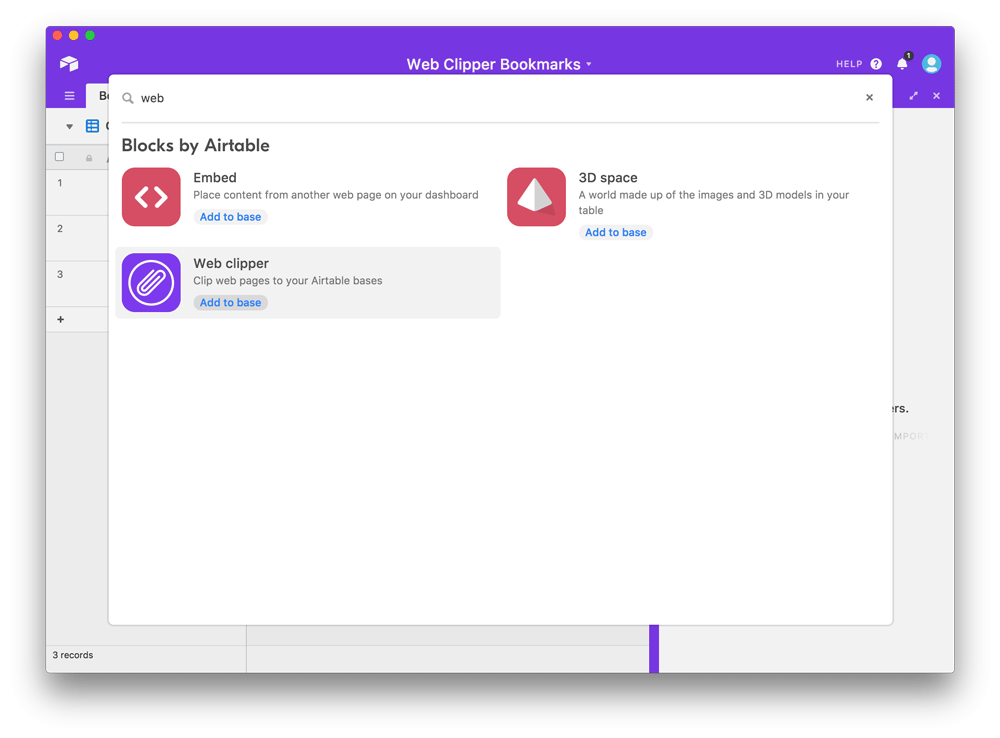
Step two: set up web clipper
With your table setup complete, go ahead and click the BLOCKS button in the upper righthand corner to open the blocks panel. From there, click Add a block, search for web clipper, and click the Add to base button.
Once you do, the block will prompt you to install the Chrome extension.

Click the Go to Chrome web store to download and install the web clipper extension. Once finished, return to your base and hit the reload button on your browser to reload the page if prompted.
After your base reloads, you’ll have the option to create a clip action in the block.
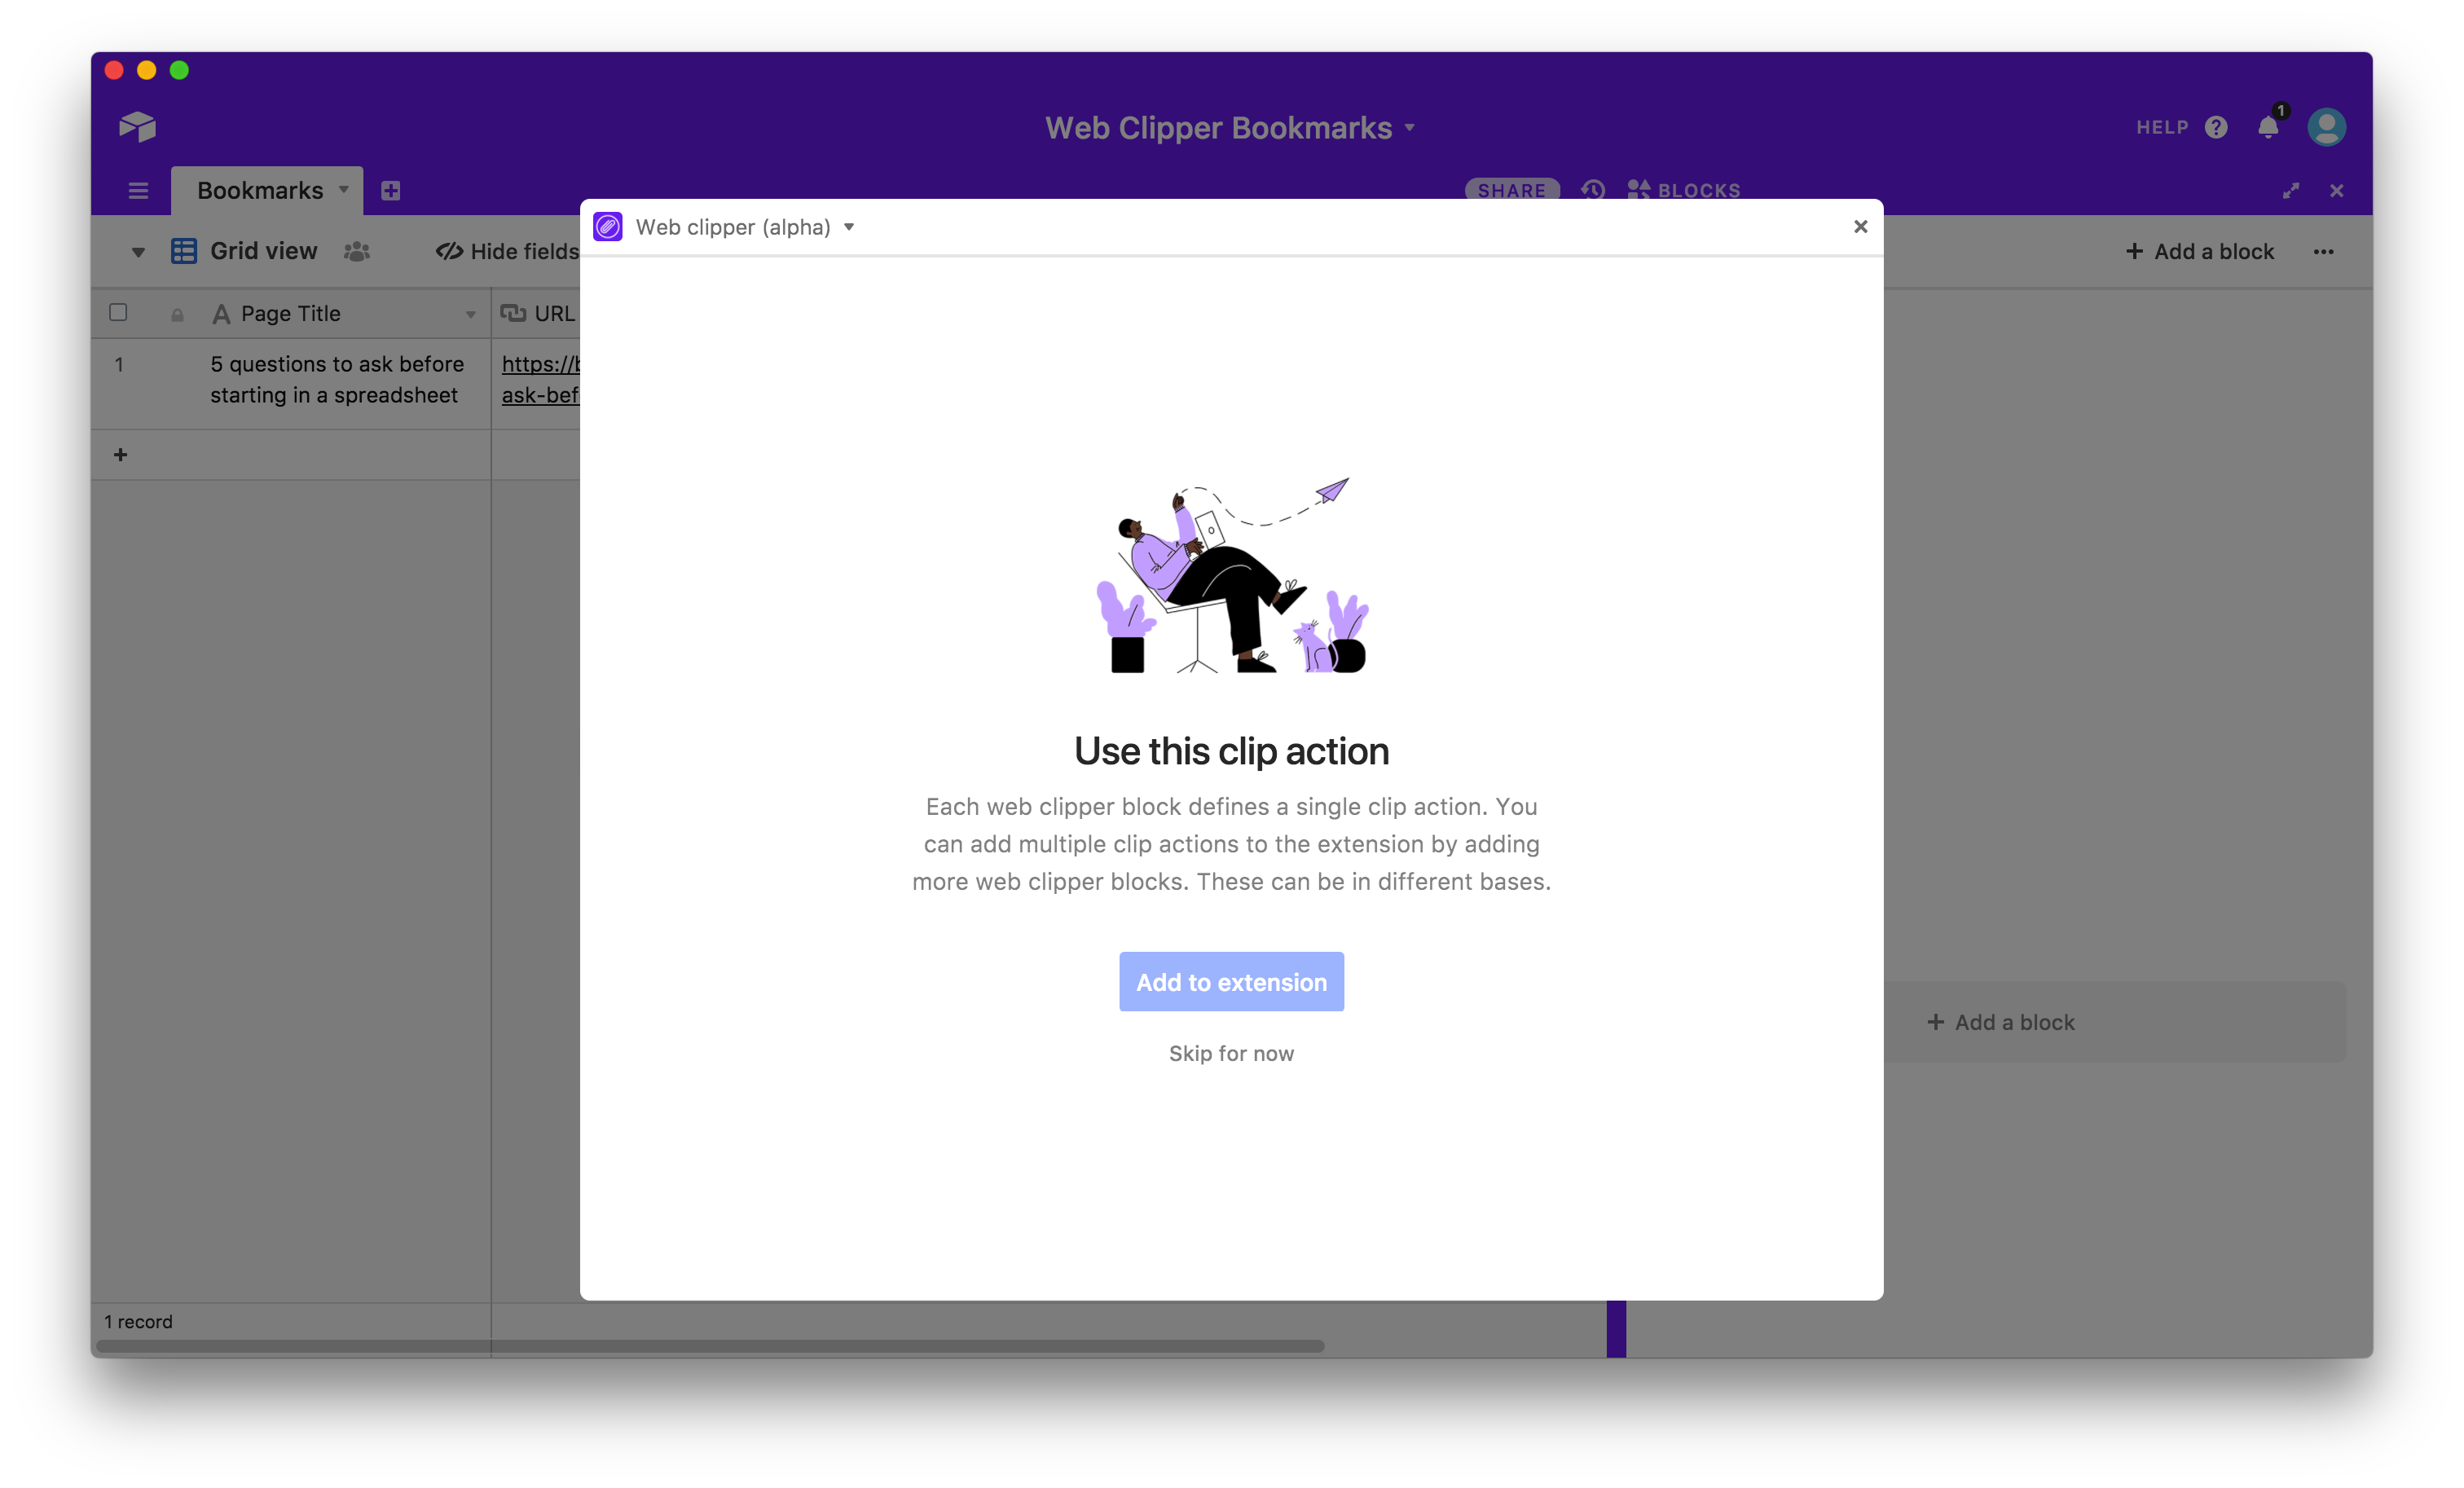
Give the new clip a title (e.g. “Add to Bookmarks”). Since you only have one table in your base, you’ll find that the correct table is already selected and you can just click Add to extension. This will open up some customizable settings as well as the extension so you can see where your new clip button lives.
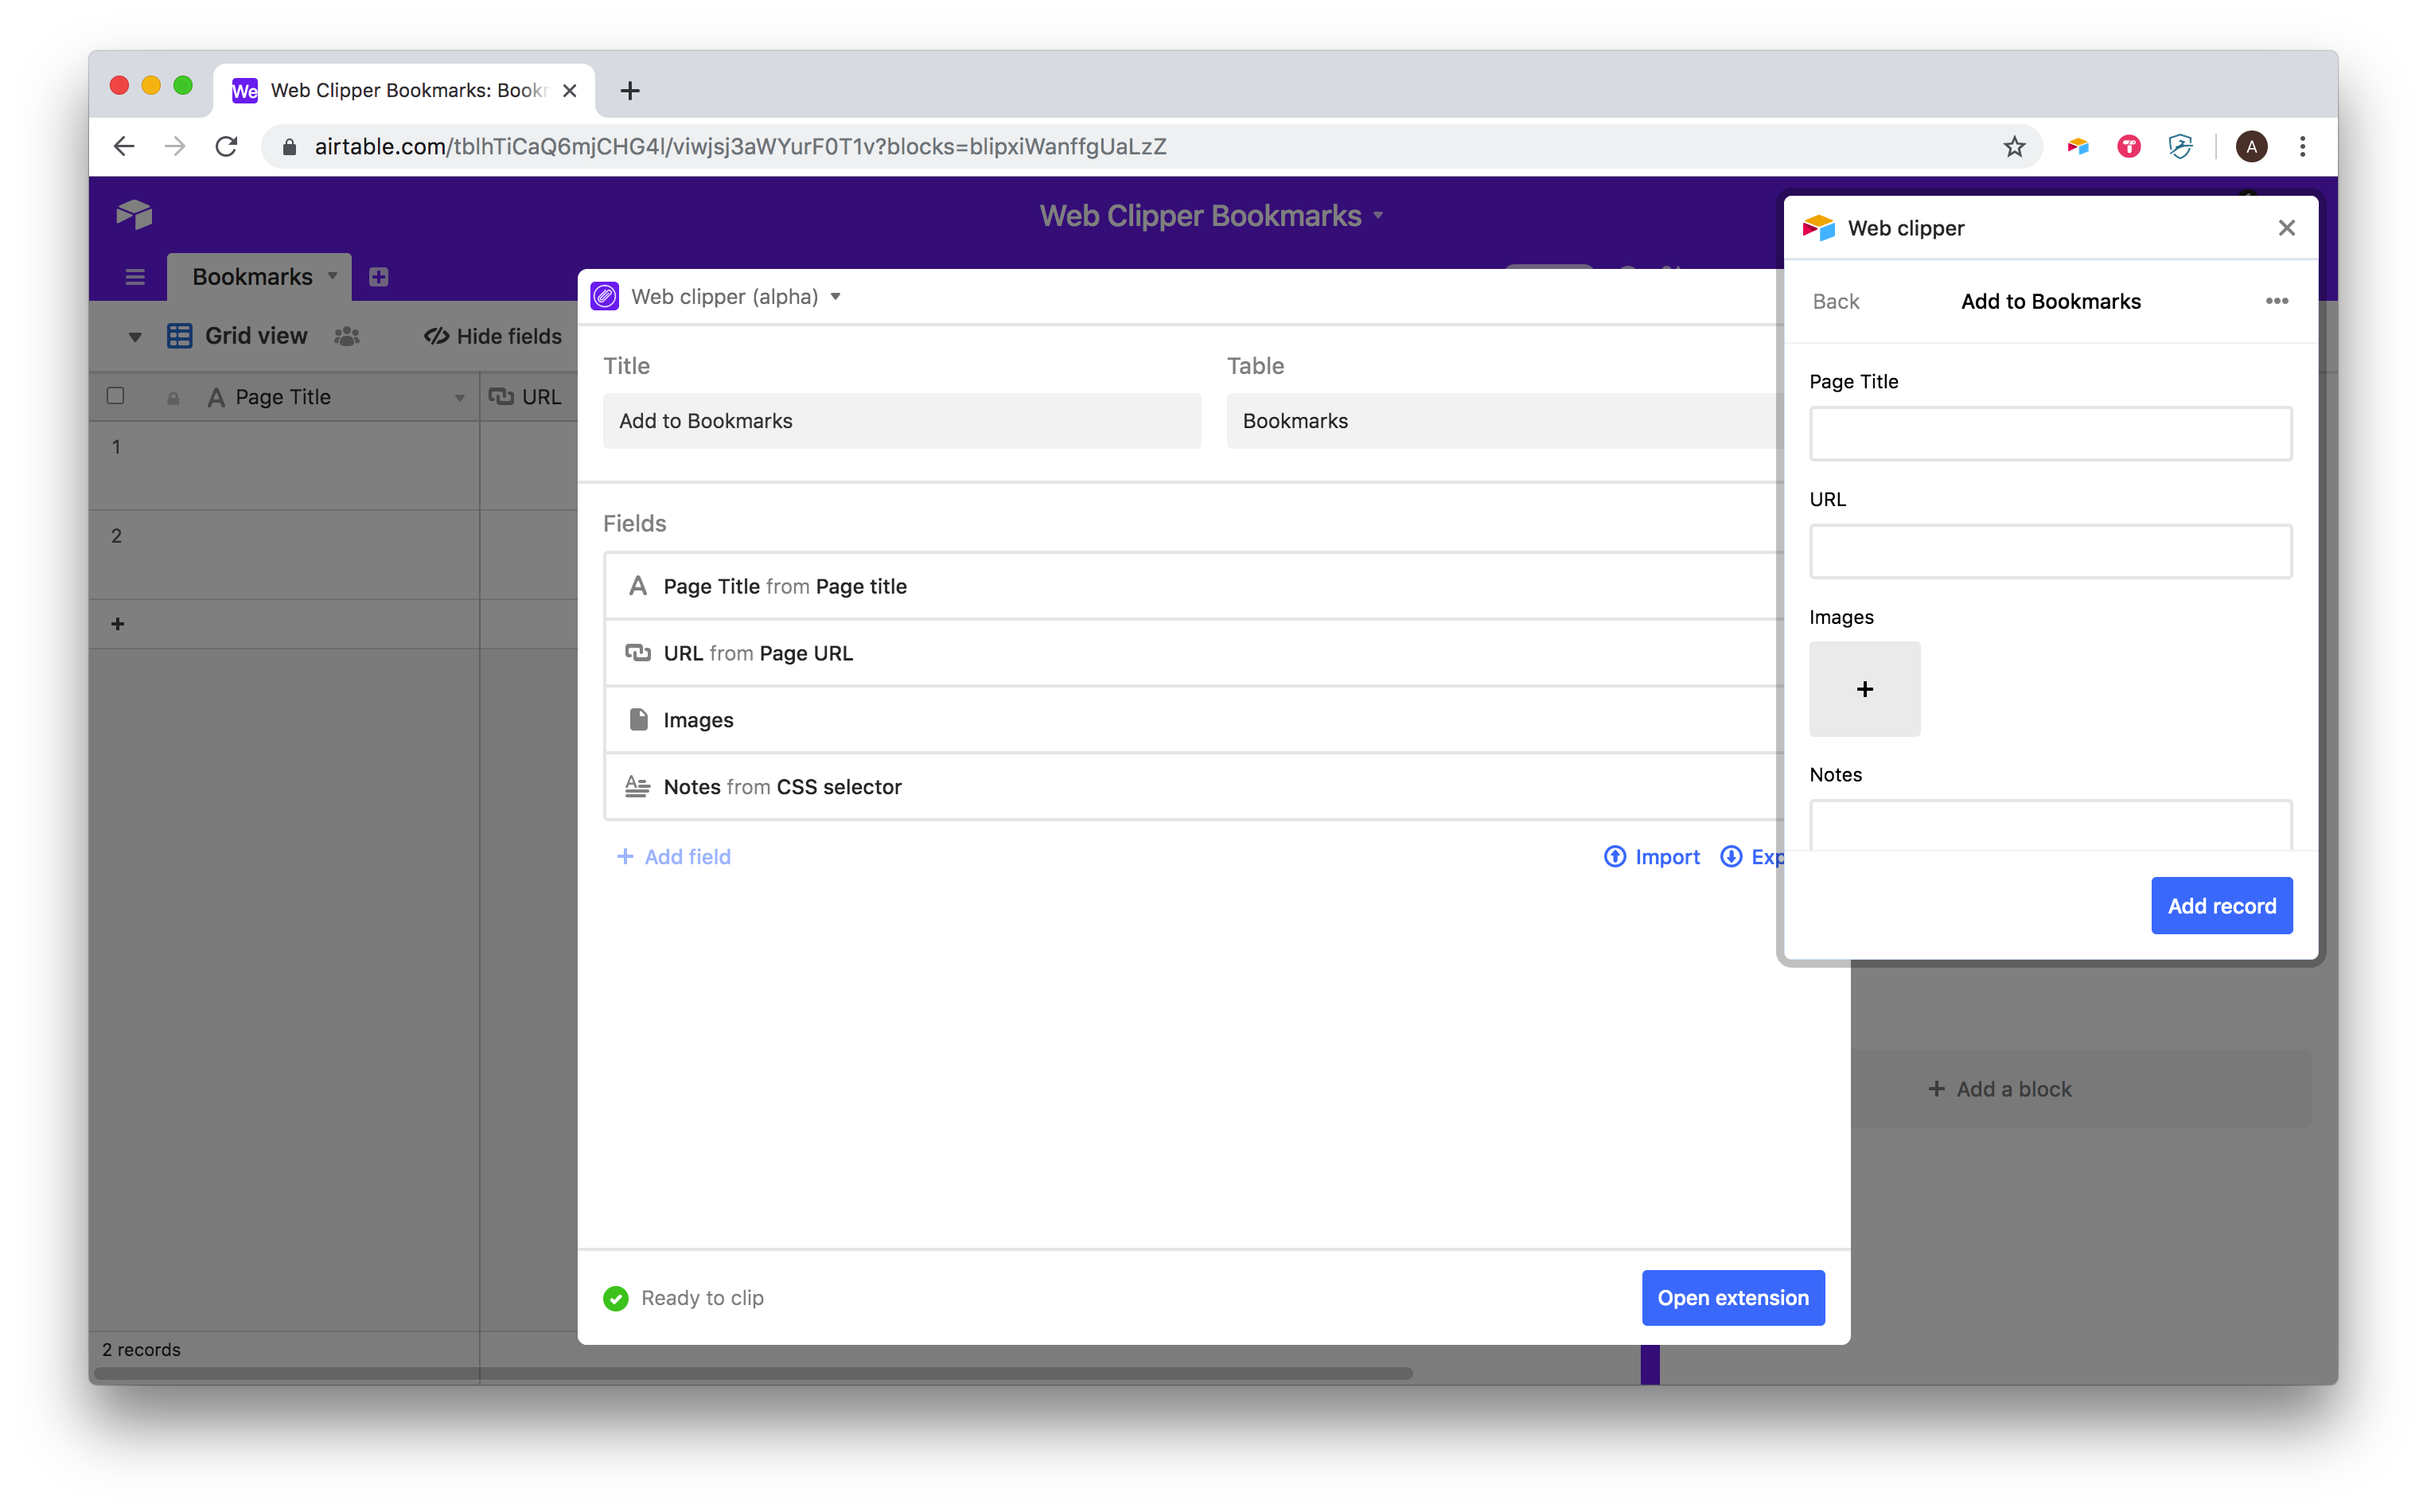
You can close the extension for now and focus on the block’s settings. Most of them will require no setup at all, but click on each field to make sure you have it set correctly. It should look exactly like the screenshot above.
With settings like this, web clipper will save the page title and URL to their clearly named fields and any text you select to the notes field if you want to save an excerpt of the page as well. Alternatively, you can use this notes field to enter a note that you type when bookmarking a page instead by either selecting no text at all or setting that field to a default value of None.
Step three: test your new clip
When you’ve finished checking the settings and making any changes you like, go ahead and open a new tab in Chrome and load a web page to use to test your new setup (like this one).
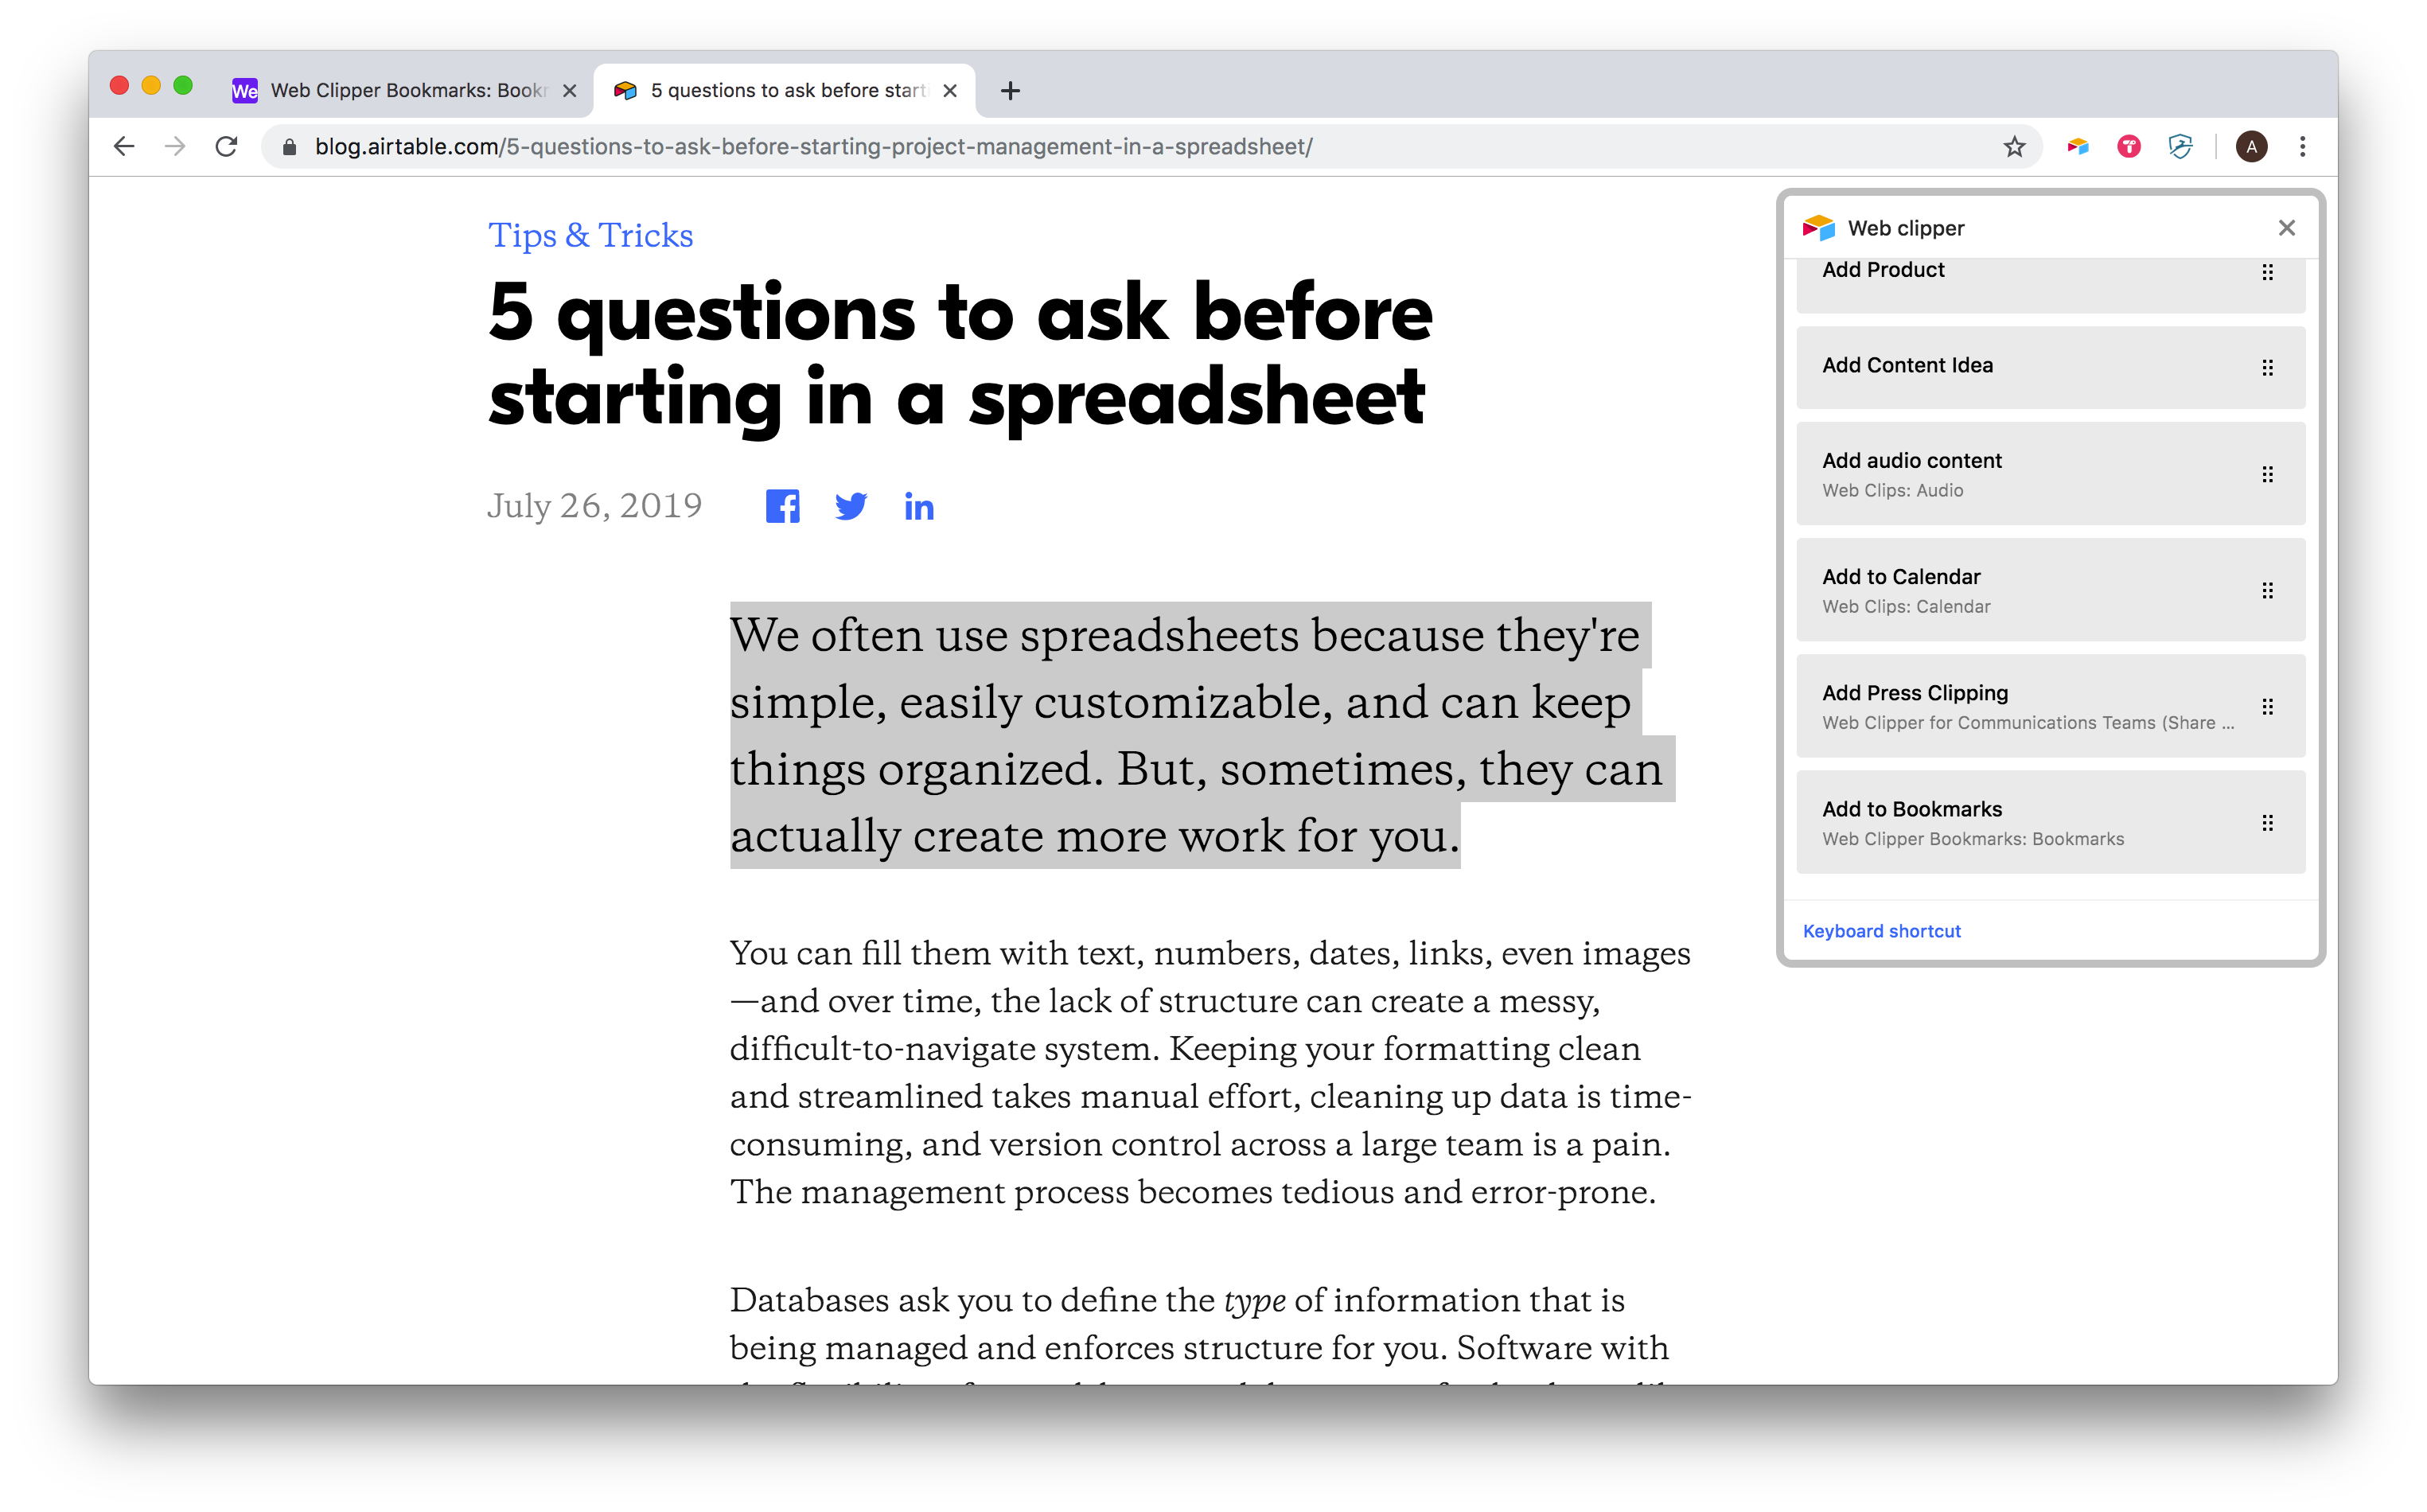
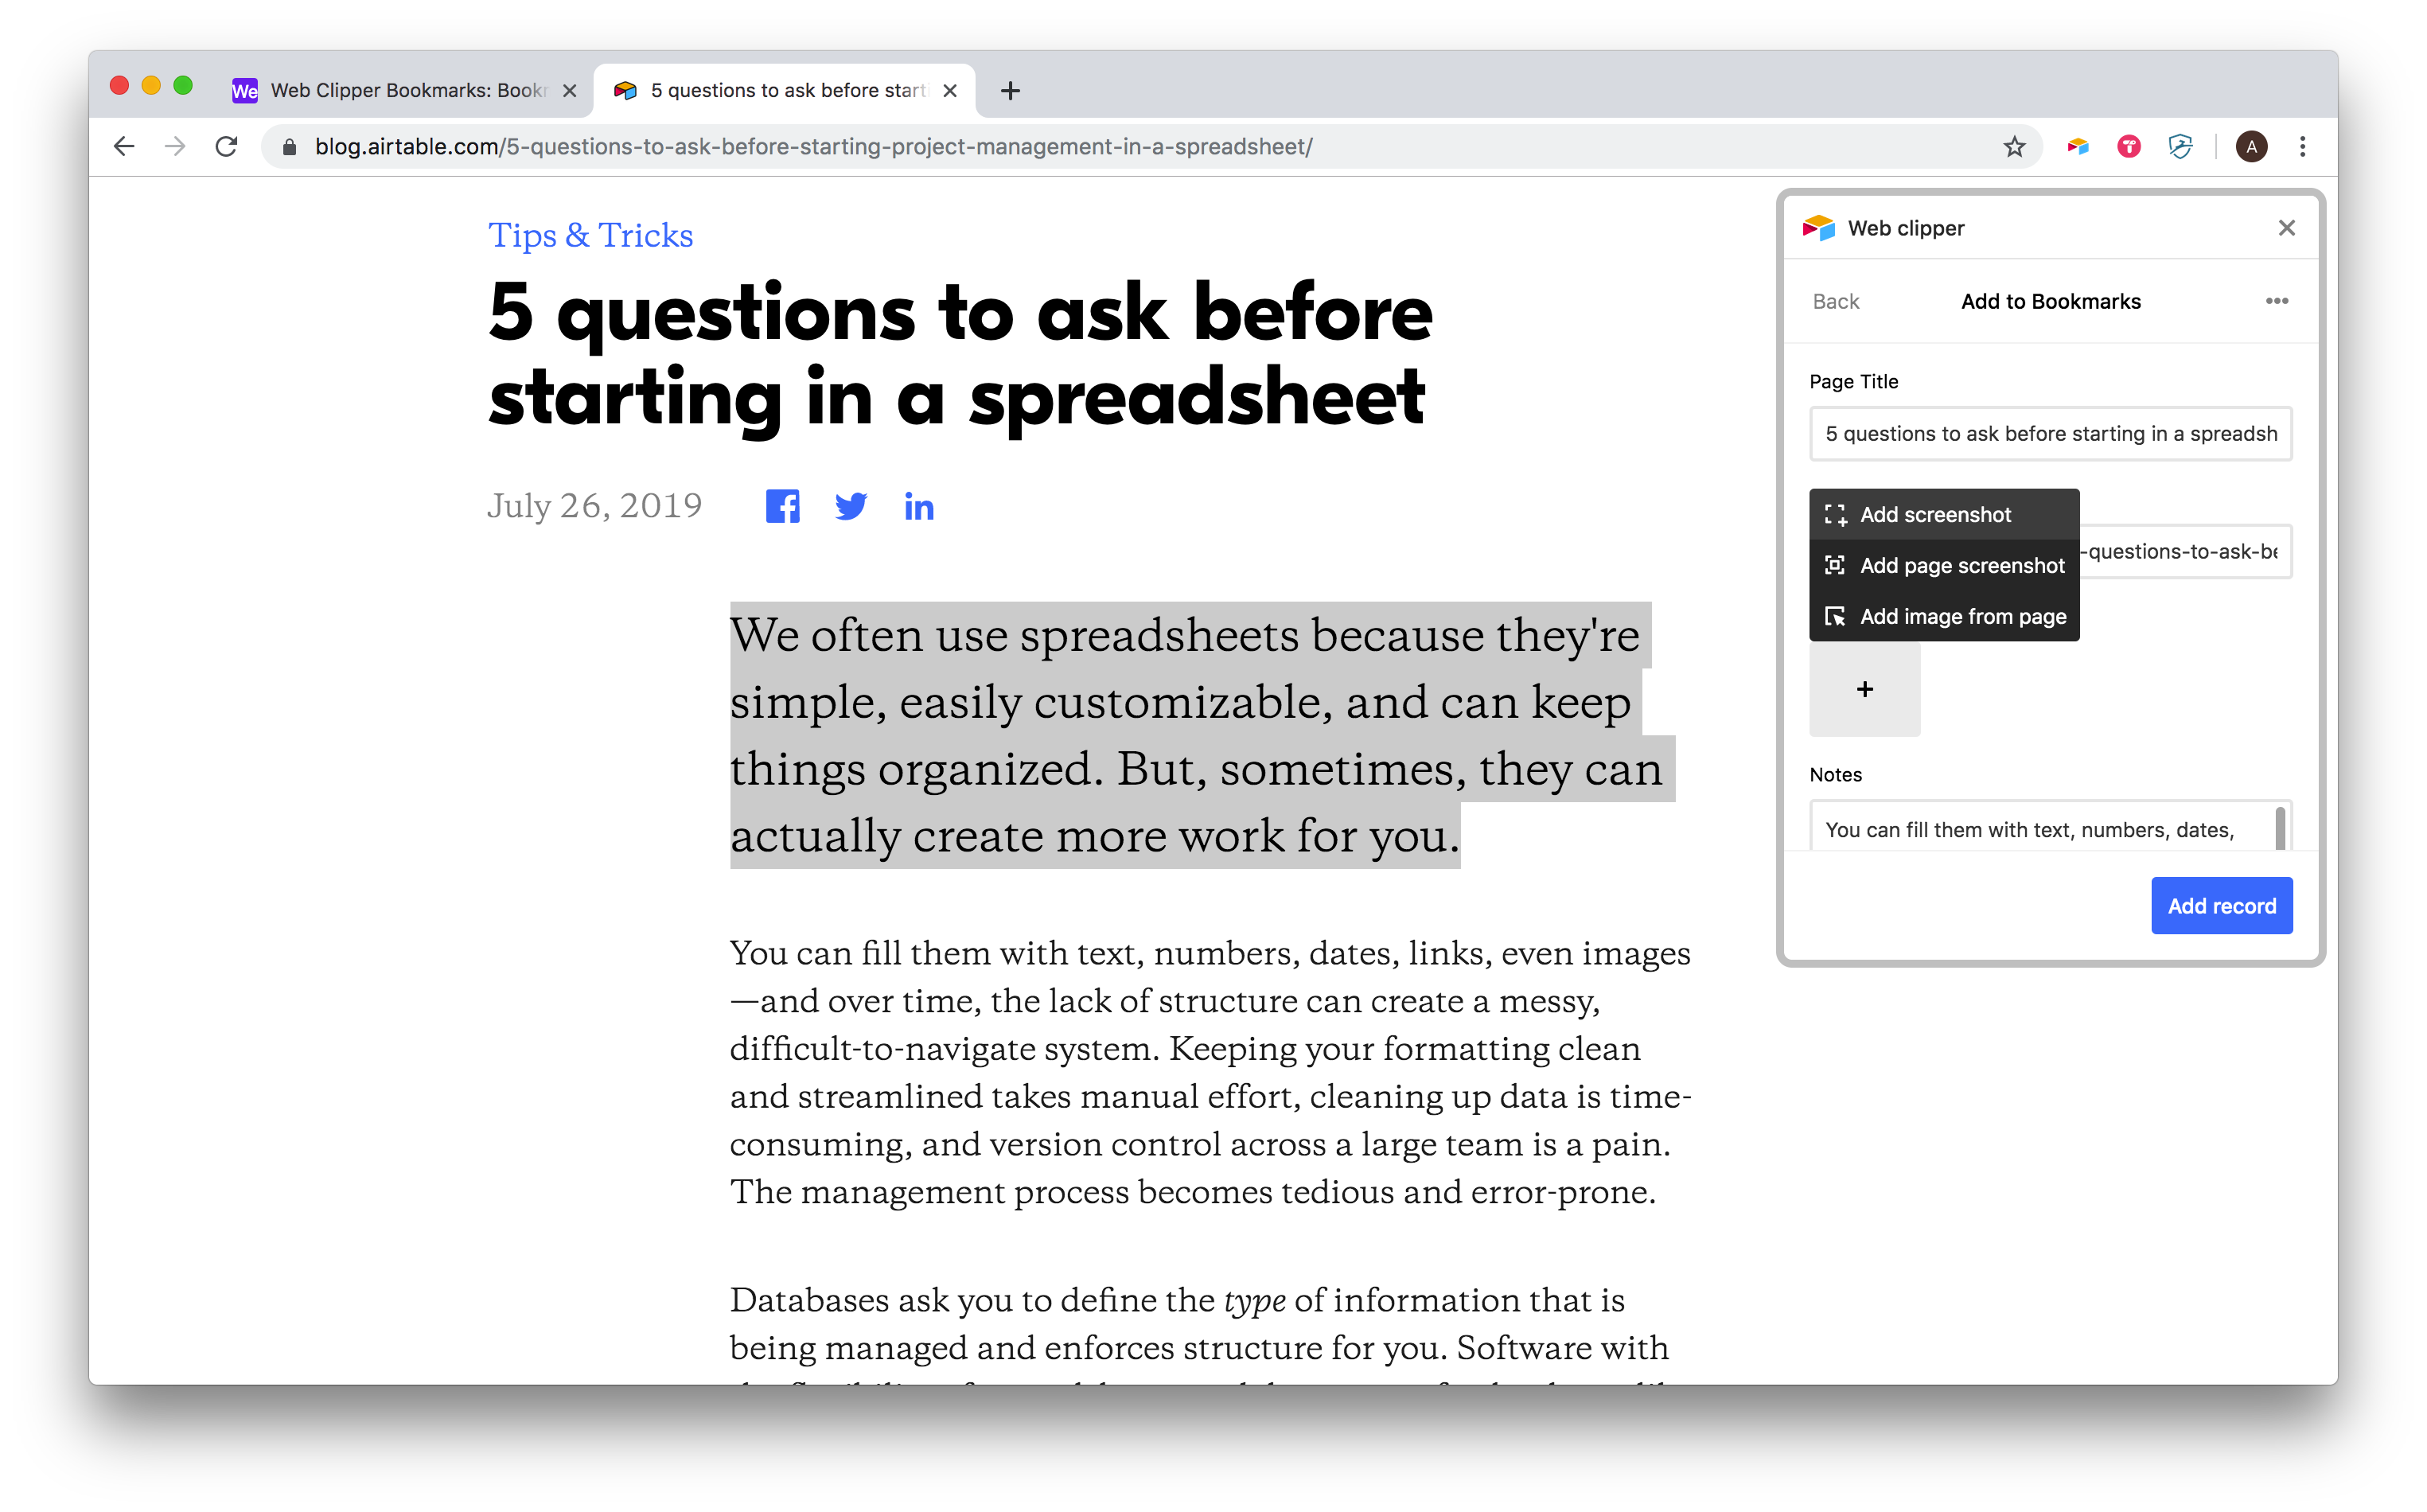
From that page, click on the Airtable web clipper extension from the Chrome toolbar, and choose Add to Bookmarks (or whatever you called it). Now you’ll see that web clipper has added the text you expect to the fields you designated. If you’d like to grab an image from the page, or a screenshot of the entire page, you can click the + button underneath the Images field.
When you’re all set, click the Add record button and check your base to see the result. You should find all the information neatly arranged in a new record just the way you expect it.
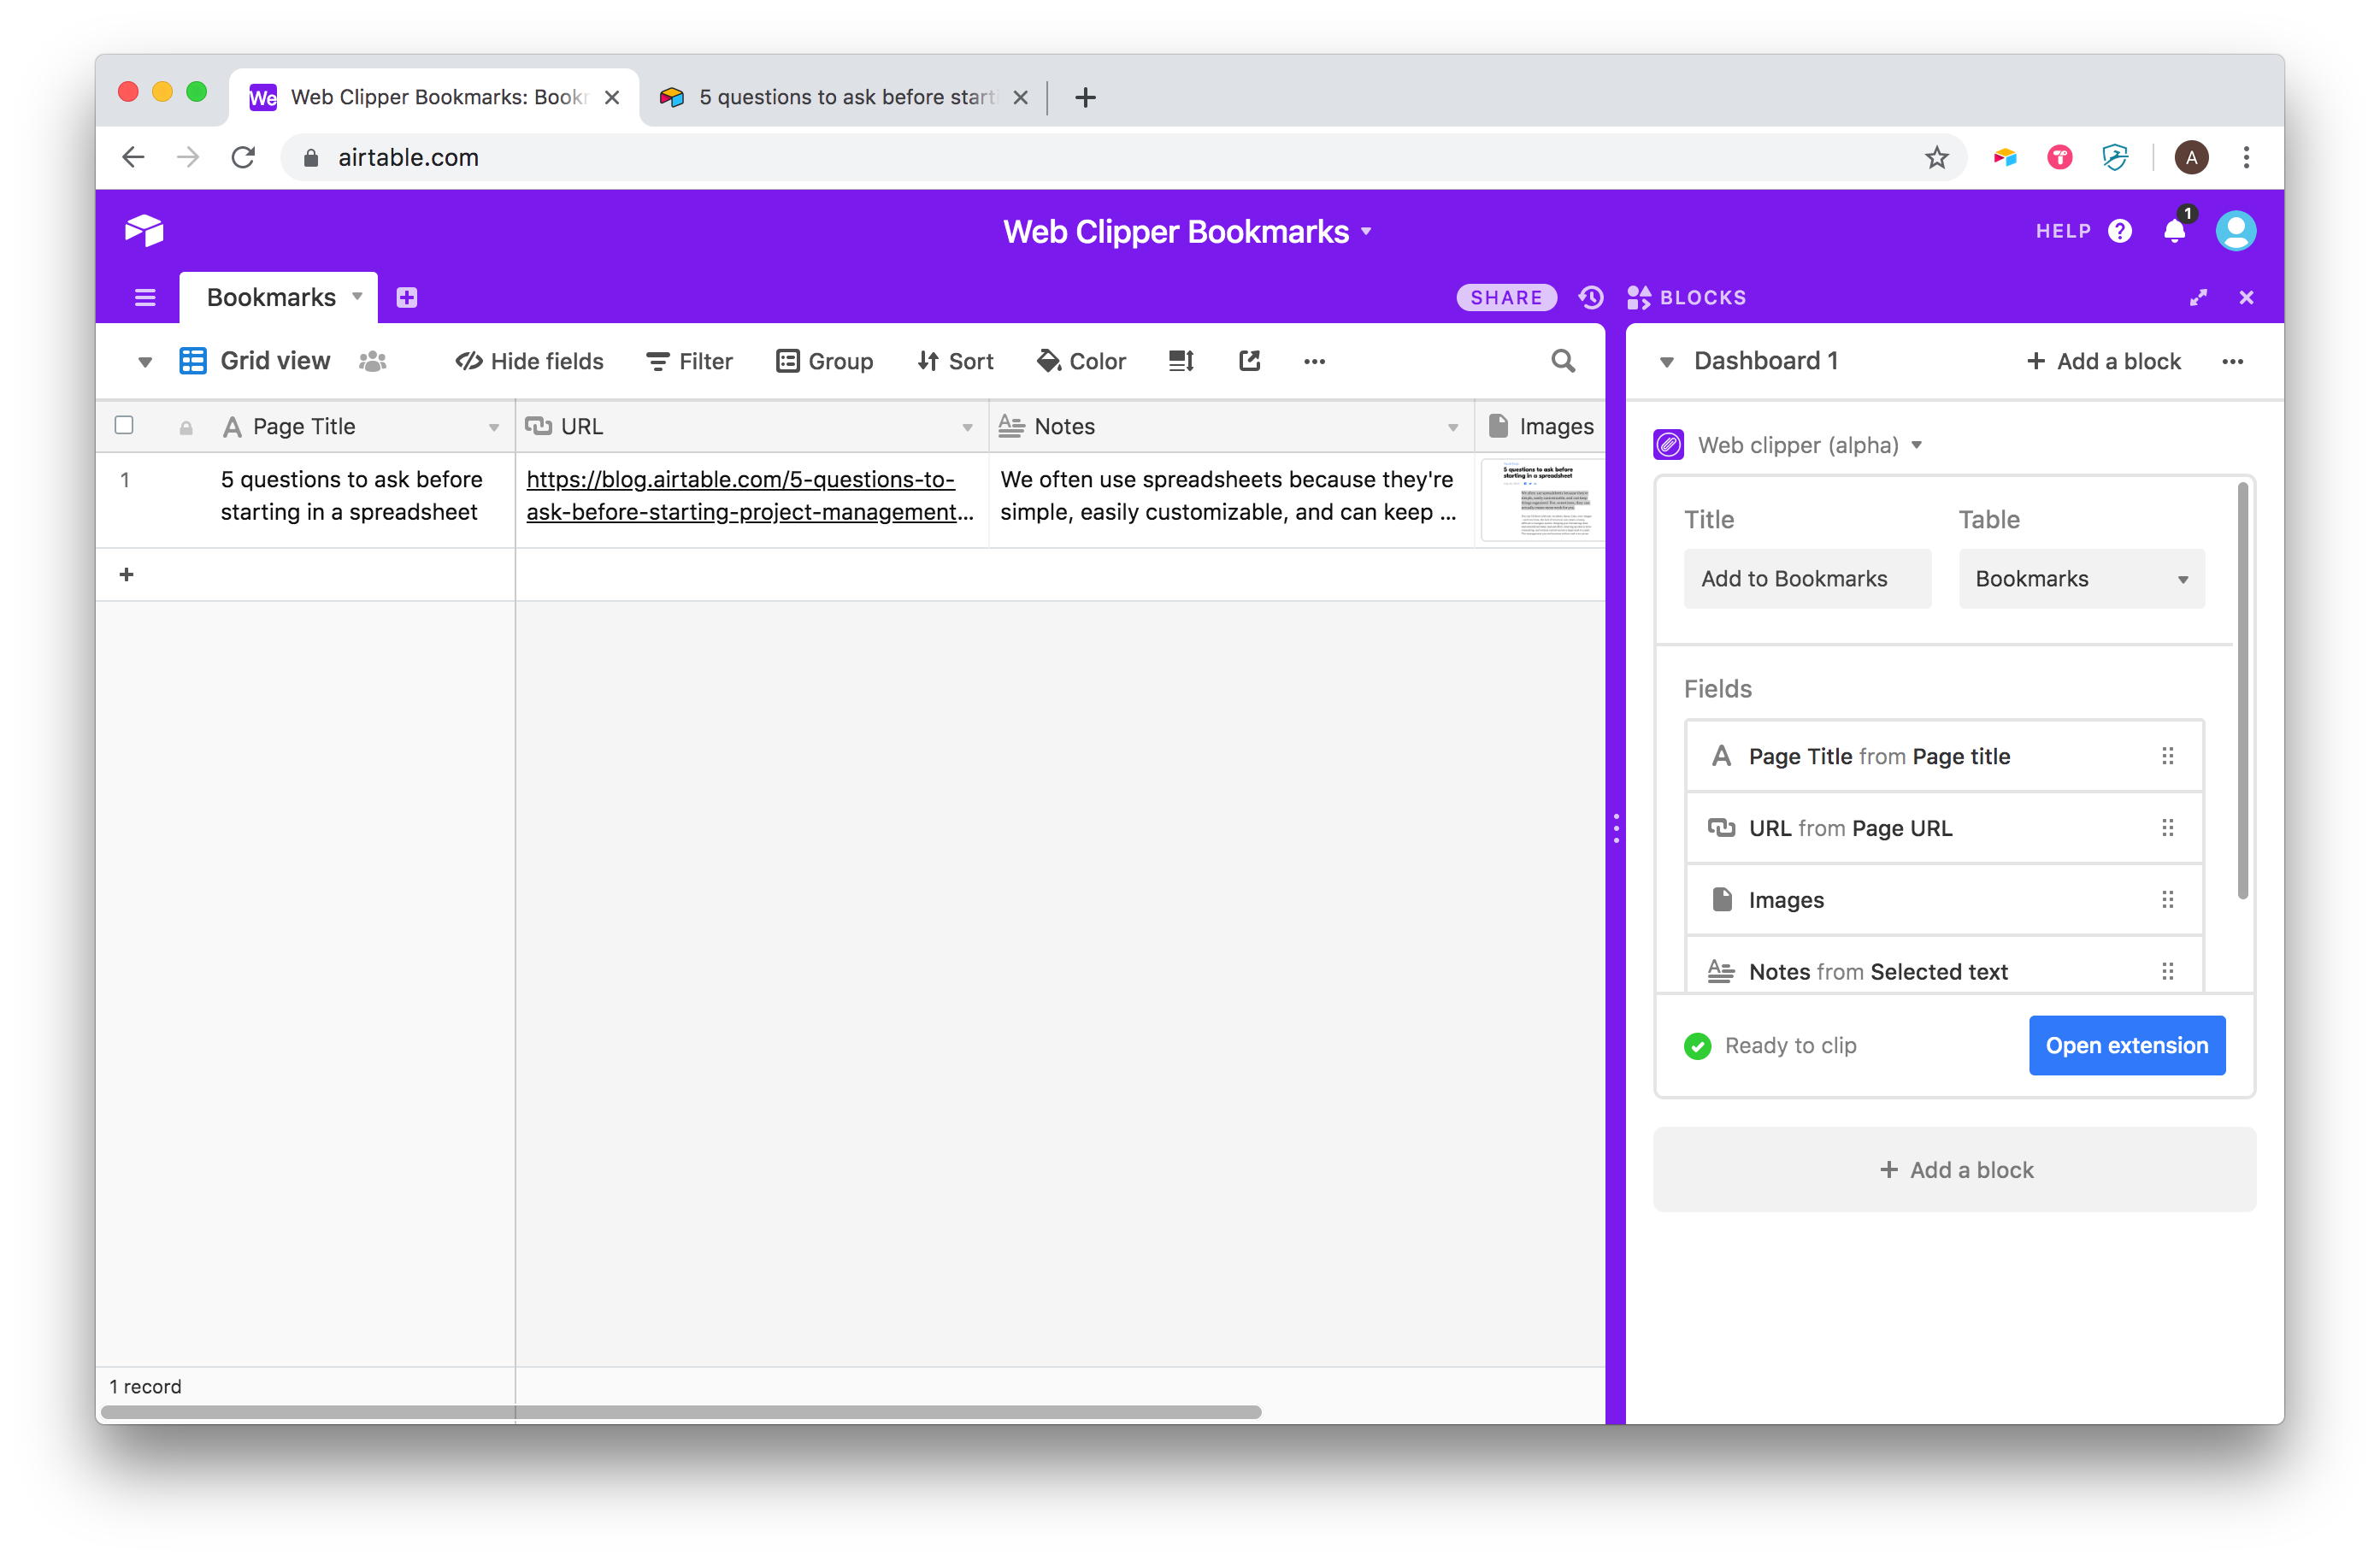
With that, you’re all set up! You can now clip web pages to this table whenever you like. You can also make any changes and updates to make this basic set up work for whatever use case you have in mind.
You can add other field types like multiple select fields for adding tags to your clippings. These fields require manual input, as web clipper doesn’t know how to clip your opinions just yet, but these few extra options can save you a bunch of time because you won’t have to jump into Airtable to make those adjustments later. You can do it all as you browse the web and return to Airtable when you’re ready.