While a notebook and a good pen can go a long way, they won’t help you collaborate remotely or share with ease. Transplant your workflow into Airtable, however, and you gain those features and more with just a few minutes of effort.
Set up your storyboarding framework
You don’t need a complex framework to create a storyboard. A simple structure will do, even if it contains nothing more than a sketch and a few notes. Of course, a little extra specificity can go a long way, so we’re going to add a couple of things into the mix in Airtable.
To get started, click the Copy base button up top to copy this example base to your Airtable account. If you don’t have an account yet, you can sign up here for free.
With your new example base, let’s take a look at what’s already set up for you. Because storyboards don’t require a lot of relationships, we're only going to work with one table, called "Storyboard." In this isolated instance we won’t run into issues, but in the real world you might want to integrate this table into a base that other members of the production use so you can share information. For now, we’ll keep it simple.
The sample shots in this base form a short sequence where our protagonist, whom we’ll call Charles, encounters a run of bad luck after the antagonist, whom we’ll call Dina, dumps him in the trash.
The primary field (that's the column called "Shot") contains a description of what happens in each shot. You can use it to quickly note what’s going to happen.
In the next two fields, Sketch and Reference Image, you can upload scanned/digital drawings and photos (respectively) to build out the visual portion of your storyboard. You can diagram the shots just as you would in a notebook and upload any reference images you either staged or simply captured on location prior to any rehearsals.
Next, you can use the dropdown I/E field to choose an interior or exterior location (or both), then type some more specific information in the Location field.
The Shot Details field that follows makes it easy to specify the type of shot, camera movements, and more. This multiple select field lets you choose options from a dropdown menu to build out a basic camera movement sequence. You’ll notice the example demonstrates very basic, mostly still shots at different distances and angles. You’ll also notice the color for each term corresponds to its type. For example, light gray denotes types of shots (e.g. establishing shot, reverse shot, POV, etc.) while bright blue denotes the direction of movement.
The Equipment field allows you to note special equipment you might need for that particular shot, such as a steadicam or jib. The list doesn’t contain filters, lenses, or other camera gear, but you can add those or create another multiple select field on your own to add more options.
Finally, the Lighting and Notes long text fields both allow you to type as much as you want. Use them to add details on how you want the scene lit, relevant equipment for each shot, or to keep track of whatever else you want—such as blocking descriptions or specific instructions for your camera operator.
Feel free to play around and add anything you like. You made a copy of the base, so you can edit it in any way and always start from scratch by copying it again.
Slice and dice your shots
Whether you enter your own shots first or just use the sample ones, you can split up all this information in useful ways by filtering, sorting, and grouping shots by various criteria. You’ll find buttons in the toolbar with those names. Let’s try working with each one to see what we can do.
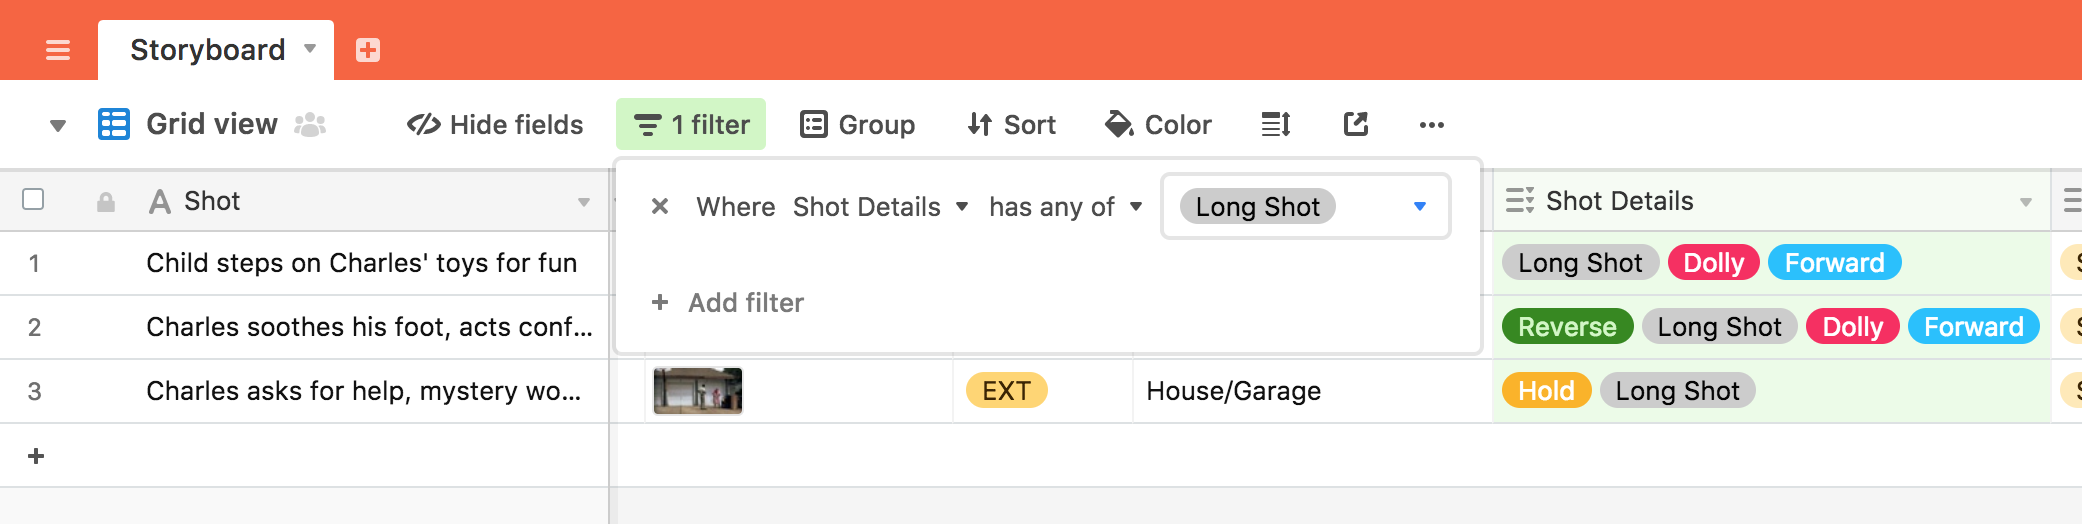
To apply a filter, click the Filter button and then the Add filter option. By default, it applies a filter to the Shot field, but if you click on the dropdown there, you can select any of the fields in this table. Try picking Shot Details, then selecting a shot type, such as Long Shot. This will hide every shot that doesn't have Long Shot in the Shot Details field. You can remove the filter by clicking the X.
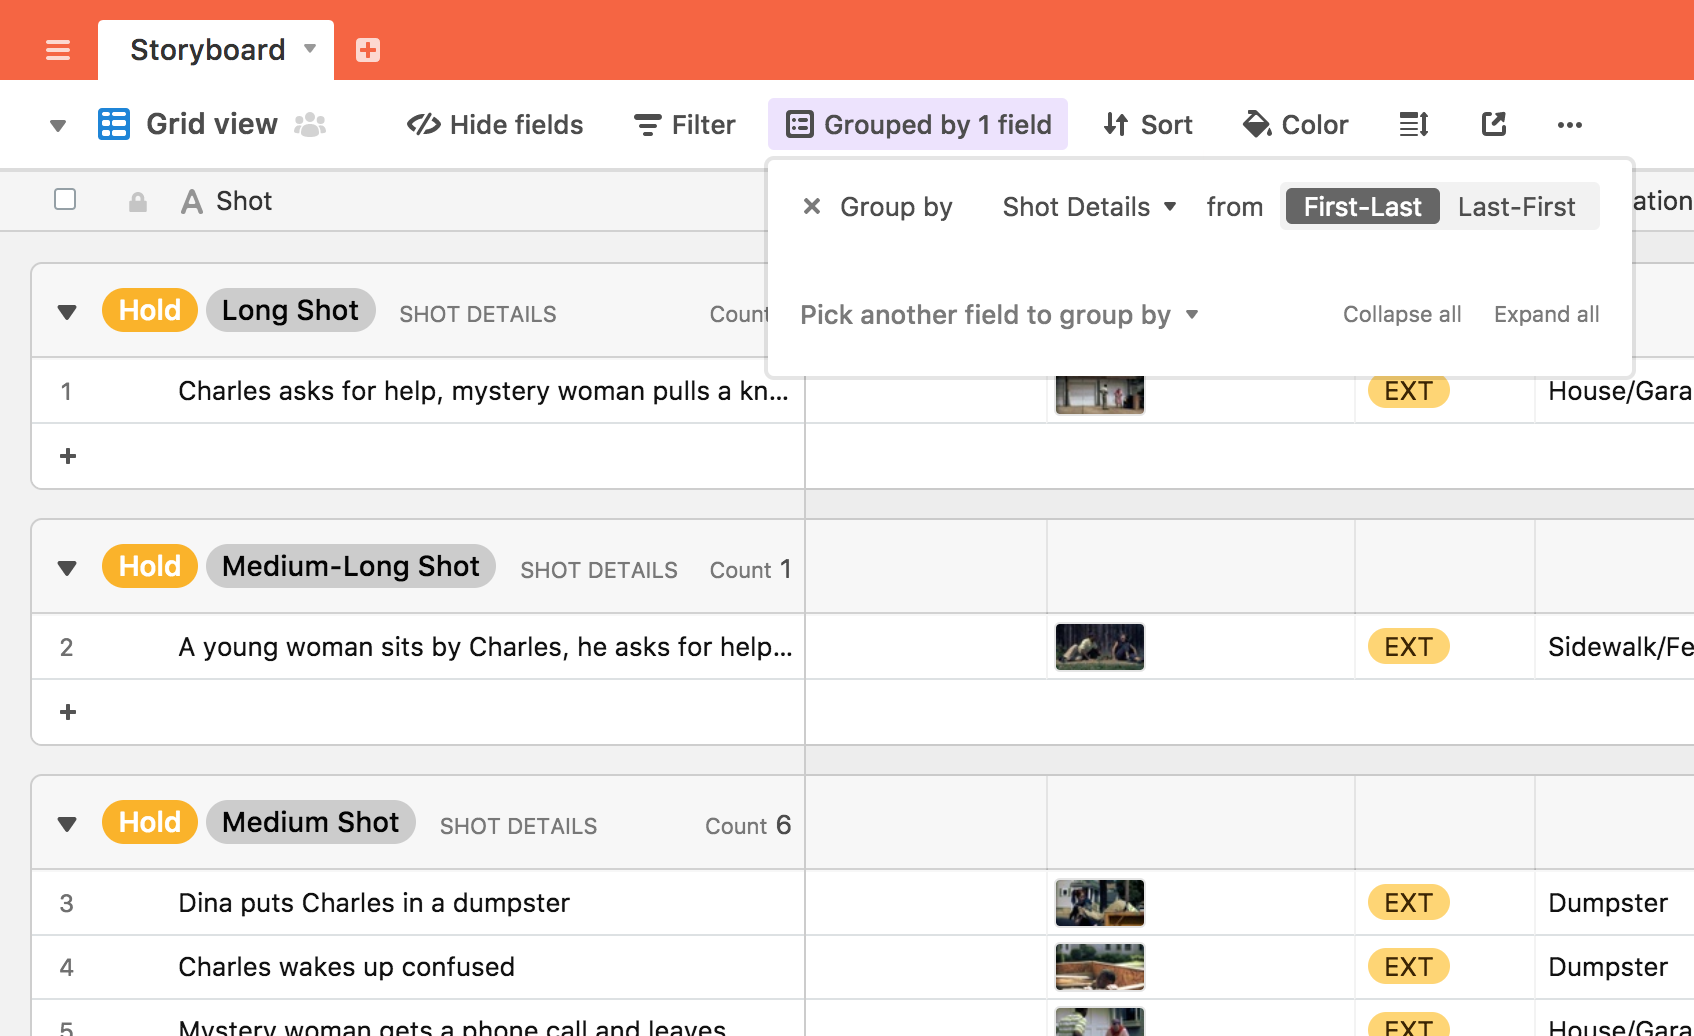
If you want to organize every shot by type without hiding any shots, click the Group button and choose Shot Details as the grouping field. You can also try grouping by location instead—play around with your options and watch your shot list organize itself automatically. To remove the groupings, just click the X—the same method you used to delete the filter just a moment ago.
Finally, click Sort to reorder your shots based on criteria of your choosing. All shots in this example take place outside, but if you change a couple to to INT in the “I/E” select field you can sort all the shots based on the location type.
You don’t have to use any of these methods to organize your shots, but they demonstrate how separating the information in your shot lists can allow you to organize everything quickly and easily. If you make a mistake and don’t like it, you can always remove or change these rules to get back to an arrangement you prefer.
Generate the storyboard
Right now, this base looks a lot more like a spreadsheet than a storyboard, so let’s fix that easily by creating a gallery view.
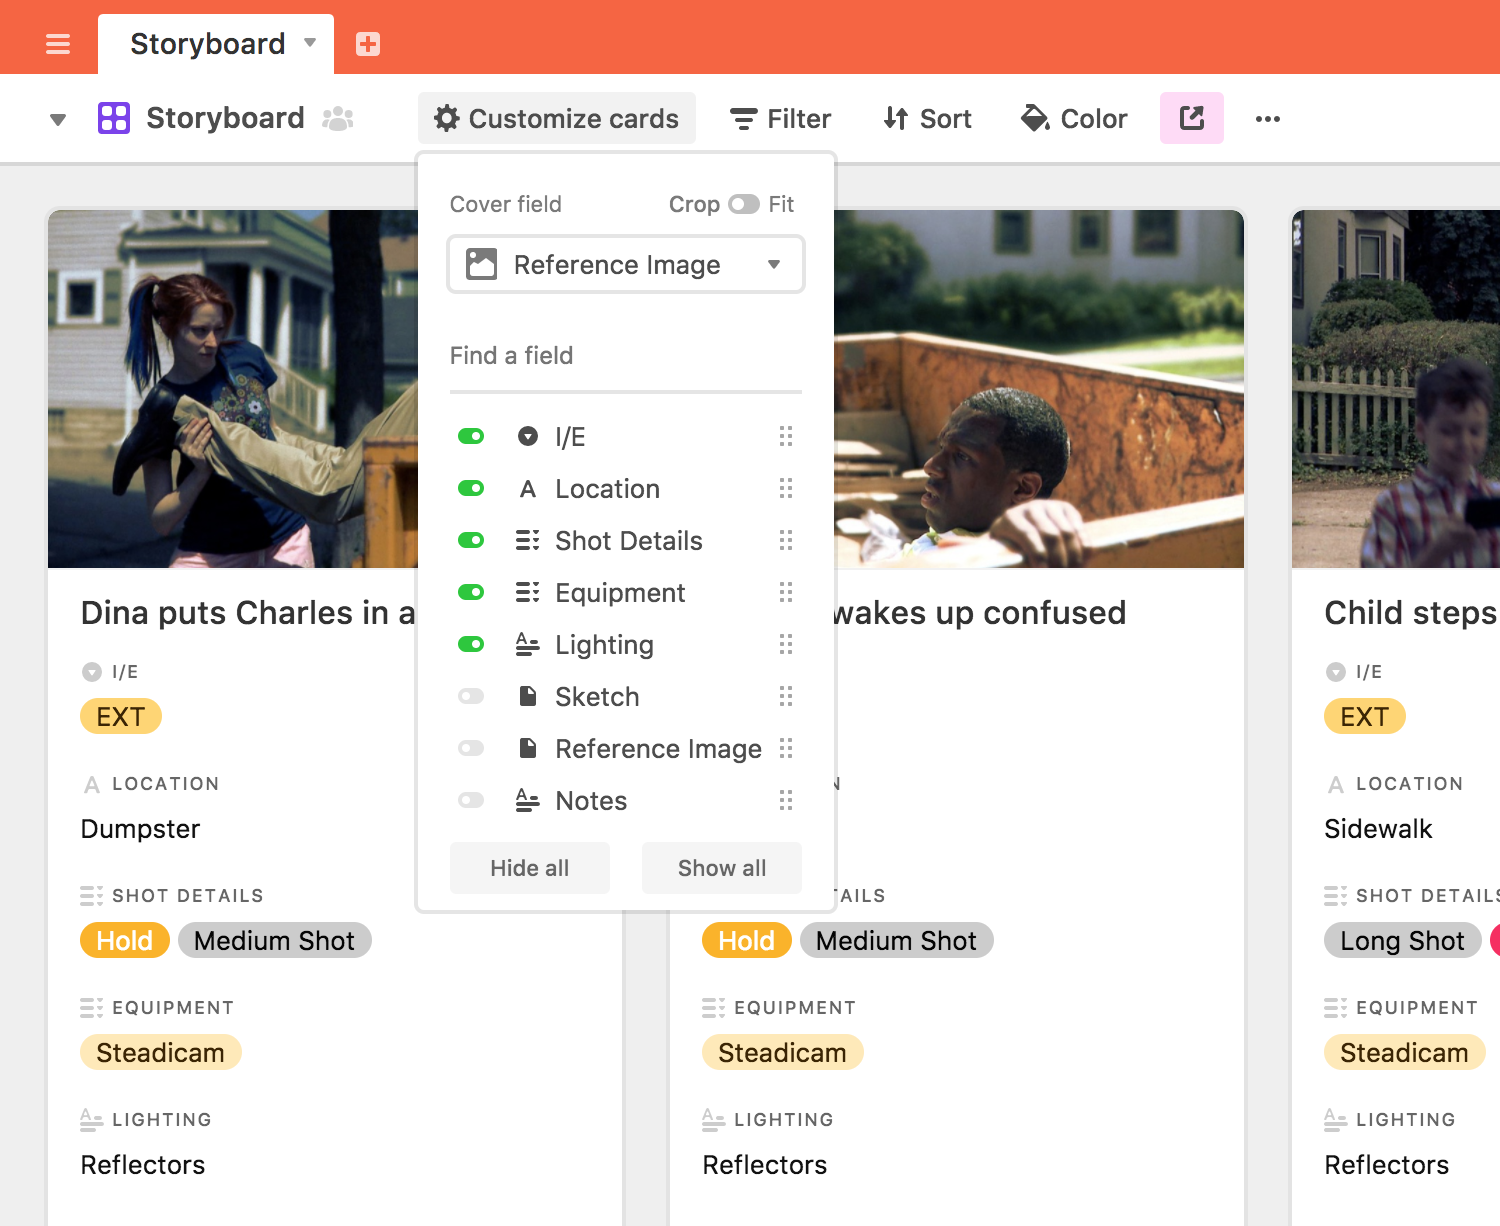
You create a new view from the view menu, which you can access by clicking on the dropdown arrow next to where it says “Grid view” in the toolbar, and choosing the type of view you want to create. You will notice, however, that this example base already has a gallery view called “Storyboard”—one you can see above. Click on the Storyboard view to switch to it.
This view shows you all your shots with relevant information at a glance, such as the location, shot details, and necessary equipment. You can click the “Customize cards” button to choose what you do and do not see on the card as well as change the image(s) displayed above this information. The example uses the reference images, but you can change this to your sketches if you prefer.
That’s all you need to know to make a robust and powerful storyboard, but don’t stop there! You can adjust the base any way you like, so test out any cool ideas that will help you work better. If you need help figuring something out, check out the Airtable Help Center for lots of useful tips and tutorials. When you’ve got tons of great photos to share, bring them over to Airtable Universe to share your work with others (or just visit for some organizational inspiration).