Timing is everything, in both work and life, so having a single source of truth for your schedule is critical. Still, while most people use calendar applications like Google Calendar to stay on top of what’s happening when, they usually don’t actually do their work in the calendar itself—that work is happening in other applications. The risk of working in multiple siloed applications, though, is that critical information about an event might get lost when you transition from one application to another. The solution to this is to integrate your different tools together so that information transfers automatically, rather than manually.
Here’s how you can use Airtable Automations to automatically schedule a Google Calendar event based on the contents of your Airtable records—without ever having to leave your Airtable base. In this post, we’ll show you step-by-step instructions for how to add this automation to an existing Airtable base for an applicant tracking system. You can use similar techniques to add a Google Calendar automation to your other bases, and you can also make a copy of the base below, which already has the automation built into it for you.
Setup
In order to build this automation, you’ll need a couple of ingredients. First, you’ll need an Airtable account and a Google Calendar account. You’ll also need to have an Airtable base in which you’re organizing the events that you’d like to schedule. In this example, we’ll use a simple applicant tracking system that a recruiting team is using to schedule interview sessions.
Required tables and fields
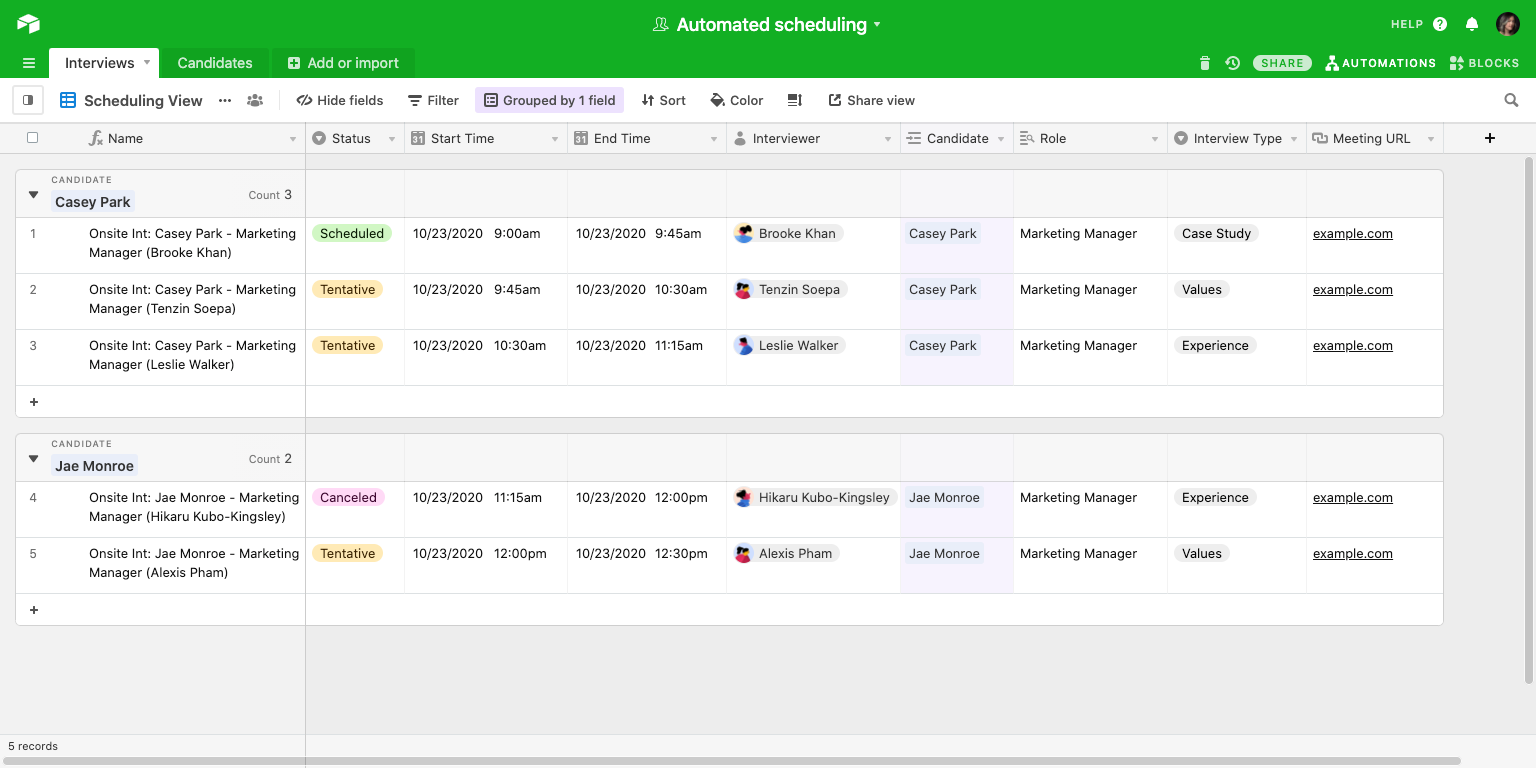
In your Airtable base, you should have a table (called “Interviews,” or something similar) which lists the specific interviews that you’re trying to schedule.
In this table, you’ll need the following:
- Two date fields, one of which will contain the start date and time of the event, and the other one of which will contain the end date and time of the event. Call these fields “Start Time” and “End Time,” or something similar.
- A single select field, which will contain select options designating the status of each interview. Call this field “Status,” or something similar. This status field should include at least these two options:
- “Tentative” or “Not yet scheduled” (To designate interviews that aren’t yet ready to be pushed to Google Calendar)
- “Scheduled” (To mark events that are ready to be synced to Google Calendar, when you’re ready)
If you’d like, your table can also include other optional fields with information about the interviews. You can mix and match different values from these fields to customize the title, description, and other optional attributes of the Google calendar events that get created. For example, you could include:
- A text-based primary field (like a single line text field or a text-based formula field) to determine the name of the event as it will appear in Google Calendar.
- A linked record field, linked to a separate table of candidates, and maybe a lookup field or two to pull in relevant information on candidates.A collaborator field, to indicate which of your colleagues will be conducting each interview, and to invite as an attendee of your meeting.
Instructions
Now that you’ve set up the required table and fields, you’re ready to make your automation.
Step 1: choose your base and create a new automation
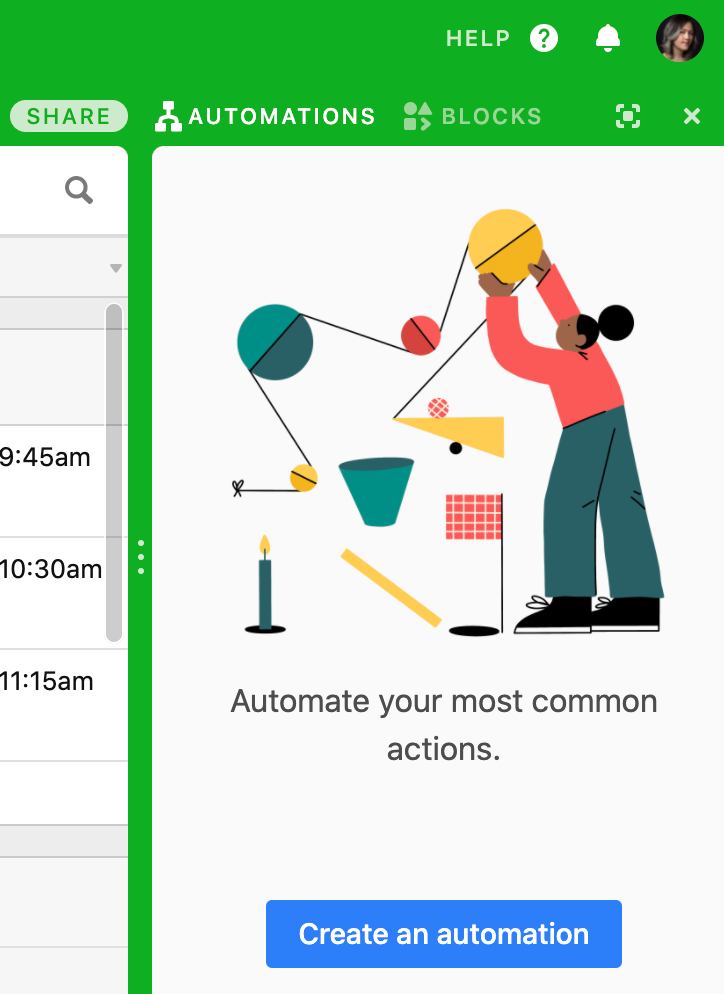
Open the base that you prepared following the Setup section above, then click the Automations button in the top right of your base. This will open the Automations side panel.
Once the side panel is open, click the blue “Create an automation” button.
If your base already has some automations, you can create a new one by clicking on the “+ New Automation” button above the existing automations.

Step 2: set up your trigger
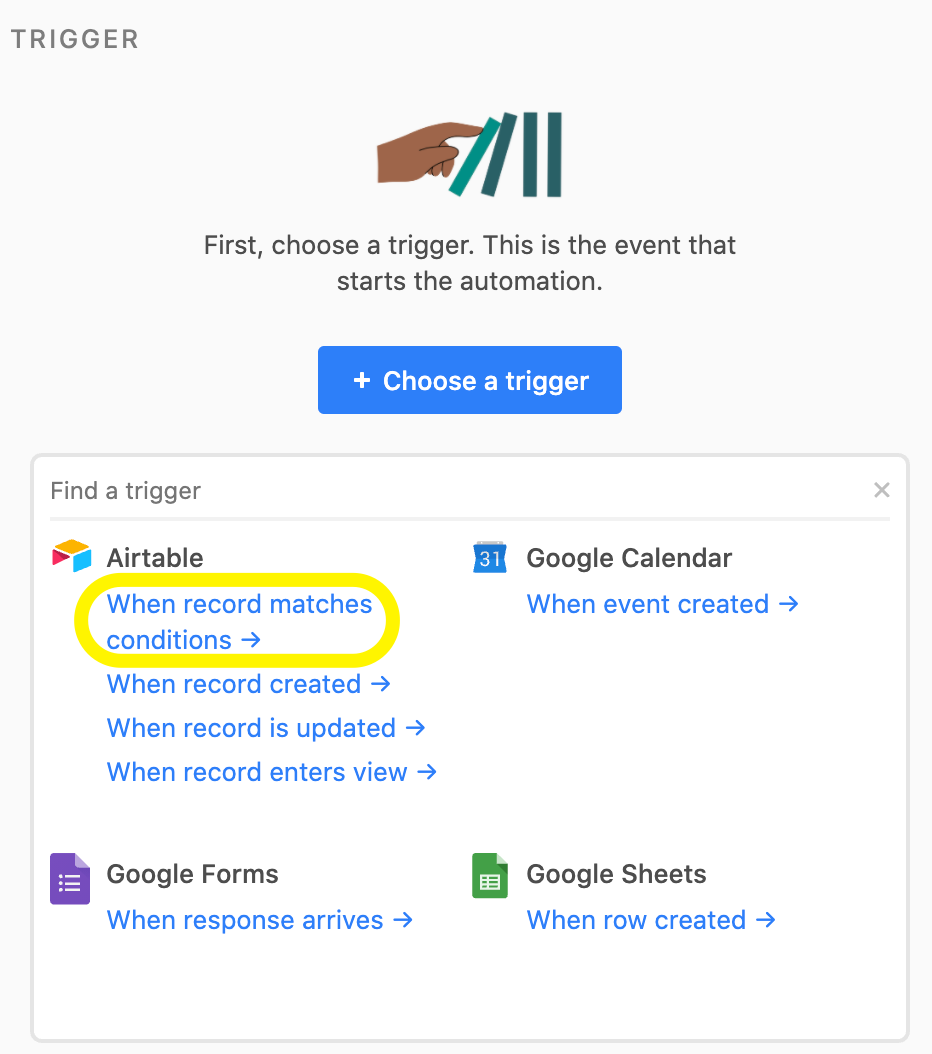
Once you’ve created your automation, you can give it a name, and then begin by choosing a trigger. The trigger is the event that starts the automation. In our case, we want the trigger to fire when we mark an interview session as being “Scheduled.”
Click the “+ Choose a trigger” button. A menu will appear with a wide variety of potential triggers. Since we want this automation to trigger when one of our event records matches a specific condition—in this case, when an interview has been marked as “Scheduled”—select the “Airtable: When record matches conditions →” trigger.
Now you’ll have to specify the conditions under which the trigger will fire. First, pick the specific table (“Interviews”) from the earlier setup you did.
Then, click the “+ Add condition” button to add a new condition. If you’re already familiar with using filters in your Airtable base, the process of adding a condition is very similar: you pick a field, operator, and comparison value so that you can construct statements like "When [Status] [is] [Scheduled]." You can also add additional conditions if you’d like, although in this example, we’ll stick with just a single condition.
Make sure to run a test to ensure that everything is in order, and click the “Done” button when you’re finished. (You’ll be able to use the variables from the test data to help you set up the action later.)
Step 3: set up the action
Actions are the tasks that get performed after a trigger fires. In our case, the action we want to perform is to schedule an event in Google Calendar using the date parameters from the record that was just marked as “Scheduled.”
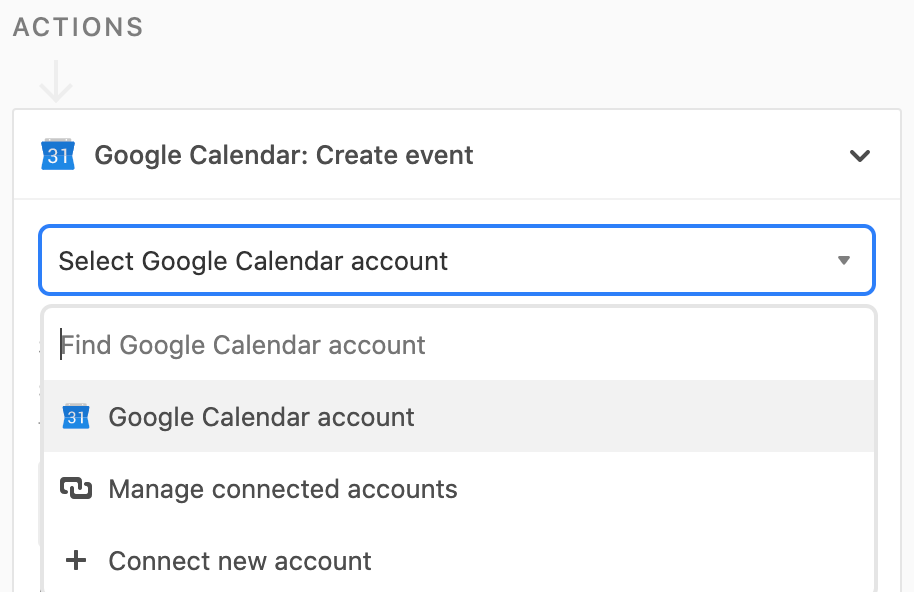
Click the “+ Add action” button. A menu will appear with a wide variety of potential actions. Select the “Google Calendar: Create event →” option. Next, you’ll need to select a Google Calendar account from which you’d like to post. If you haven’t connected a Google Calendar account before, you’ll need to authorize Airtable Automations in order to connect your account.
Once you’ve connected a Google Calendar account, you’ll need to specify the calendar to which you’d like to add the events. The Calendar dropdown will automatically list the calendars associated with the selected Google Calendar account.
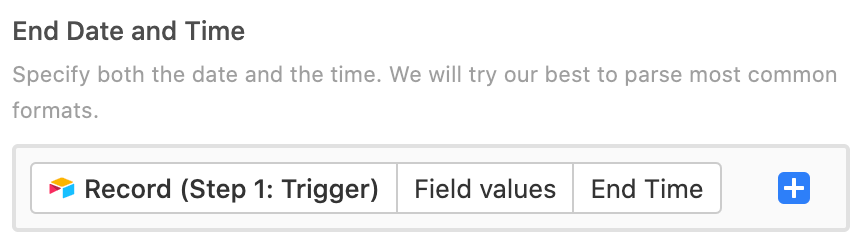
You’ll then also need to specify the start date and time as well as the end date and time of each event. In this case, we want the timestamps to come from the “Start Time” and “End Time” fields, respectively.
In order to set this up, click the blue + button under where it says “Start Date and Time”—this allows you to insert variables from the trigger step. From there, mouse over “Record (Step 1: Trigger)” then click the “Continue” that appears. This brings up a list of potential variables from the record in the trigger step. In our case, we want to insert the text from the “Start Time” field, so mouse over the “Start Time” field and click the blue “Insert” button.

Repeat this step when specifying the “End Date and Time” for the action, but this time using the variable from the “End Time” field.
There are a number of other options available that will allow you to customize the event details.
- For example, there’s a box you can check called “All Day Event.” In this case, the interviews are not all-day events (thankfully) so you can leave this box unchecked.
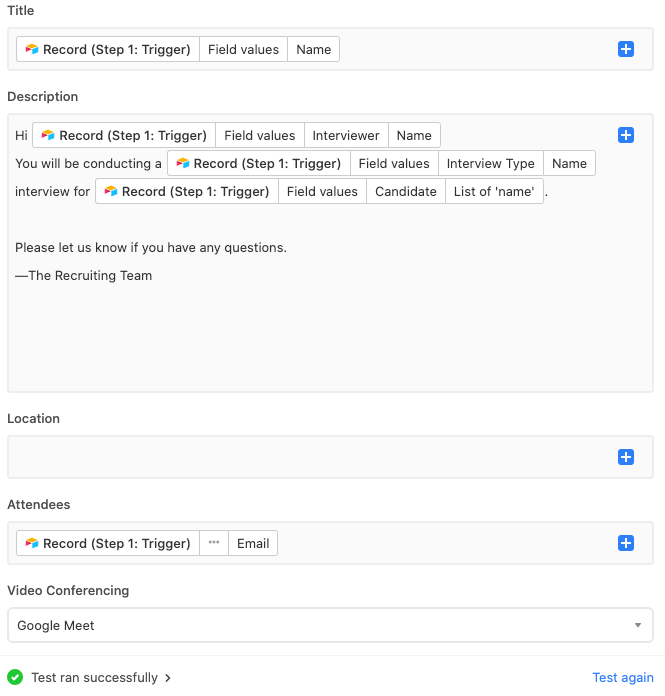
- The “Title” section allows you to give a name to your event. In this example, let’s pick the value of the Name field in the record from the trigger step.
- The “Description” section lets you customize the event description text. You can mix static text with variables from the trigger step to create an event description that automatically incorporates information from your Airtable base into the Google Calendar event.
- The “Location” section allows you to specify the location of your Google Calendar event. If you’d like, you can specify a variable from the trigger step here as well.
- The “Attendees” section allows you to invite other people to your Google Calendar event using email addresses. In this example, we can insert the email address of the interviewer, using the variables from the “Interviewer” collaborator field in the previous step.
- Lastly, you can also add a video conferencing software from the dropdown menu, if you’d like.
Once you’ve customized all the components to your liking, make sure to run a test to ensure that everything is in order, and click the “Done” button when you’re finished.
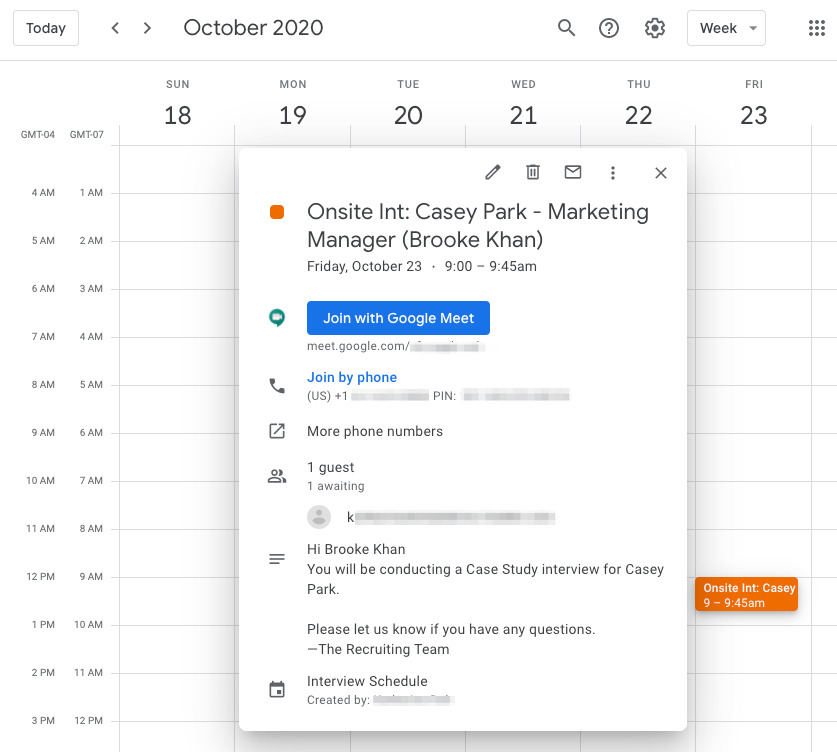
Note that if you run this test successfully, an event will be created in Google Calendar based on your test data from the trigger step. Go check it out in Google Calendar to see if all the customized variables look good to you.
Step 4: turn it on
If everything looks good and you’re ready to post, go ahead and toggle your new automation on. Now you’re ready to schedule some meetings!
This is just one of the ways in which you can use Airtable Automations to orchestrate a custom workflow. Have more Automations guides you’d like to see from us? Give us your suggestions on our community forums.
You can also sign up below to get notified by email whenever we post a new guide!