Plans change, deadlines shift, and communication gets scattered across platforms. Things are easier when relevant information is located in one place, so it’s no surprise that “put it in Slack” has become a common refrain for many of us. And while Airtable is still the best single source of truth for your data, we’ve built automations that help you work where you want to.
Let’s say you work at a furniture company and you have a new bookshelf coming out. When one team settles on a deadline, they move the record from “Development” to “Locked.” Moving it to “Locked” will let the launch team know it’s time to get moving. Thanks to our Slack automation—and the subsequent notification—your launch team will know precisely when the time comes.
Select your trigger
To create an automation, click the Automations panel in the top-right-hand corner of your base. Remember, every automation has two parts: a trigger and actions. Triggers are what set the automation in motion—it’s what needs to happen to get your automation running.
Our built-in triggers are pretty expansive—they can encompass when something happens in Airtable, like when a record is created or updated. But they can also encompass when something happens outside of Airtable—like when you’re sent a calendar invite in Outlook.
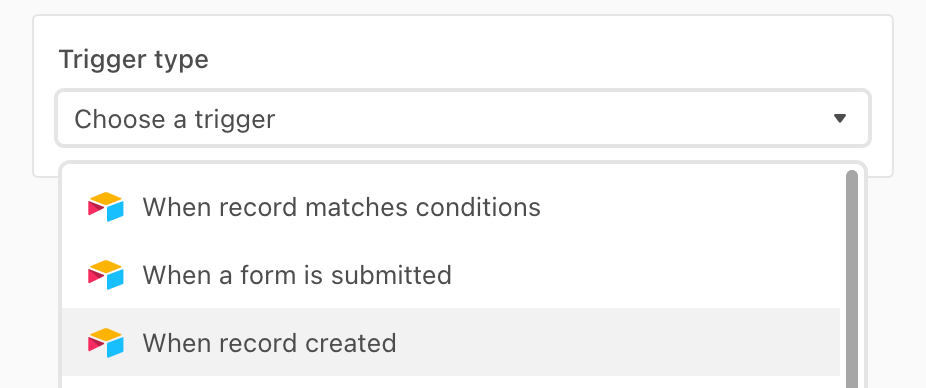
For our Slack notification, select the Custom automation dropdown. Then give it a name. At our theoretical furniture company, we want to send a notification when a new product is ready to launch, so we’ll name our automation “New product launch.” Then, choose “when a record is created.”
Remember: this automation will fire—and a Slack message will send—every single time the trigger occurs, so make sure it’s not something that happens too frequently!
Next, pick the table from which you want to receive notifications when a record is created. Because this automation is all about launches, we know we’re going to pull from our “Launches” table. But remember, this could be just about anything—like new projects in your “Projects” table or new candidates in your “Hiring Pipeline” table.
And poof—there’s your trigger. It might not seem like much, but we’ve already created a complex system that understands “when a record is created in the “Launches” table, it’s time to do… something.” Now, we just need to decide what.
Create an action
So, what do we want this automation to do? Again, your options are expansive. You could create another record in Airtable, send an email from your Gmail account, create a Google Calendar invite. But we’re going to send a Slack message, so click that link.
Next, choose which Slack account your message will come from. If it’s your first time connecting Slack and Airtable, you’ll be prompted to log in with Slack. Then select the channel you’d like to post your message to. These can be public channels, private channels, or even direct messages.
Finally, write your message! Remember, this is something your partners might see many, many times, so try to make it concise. And if you really want to uplevel its utility, consider automatically surfacing relevant information with the little blue plus button in the text field.
In our furniture example, we’ve written: “A new product has launched!” But we want to tell you what it’s called, so press the blue plus sign in the top right corner of the text field. This allows you to pull a ton of information from previous steps. We’ll write “It’s called” then select the “Name” field.
This can be a little bit baffling at first glance, but this little button allows you to select any field from your table. This means you could include an image of your new bookshelf, or link directly to your Airtable record. The possibilities are nearly endless, so don’t be afraid to experiment until you’ve crafted the best message for your partners. Here’s where we ended up:
The most important step:
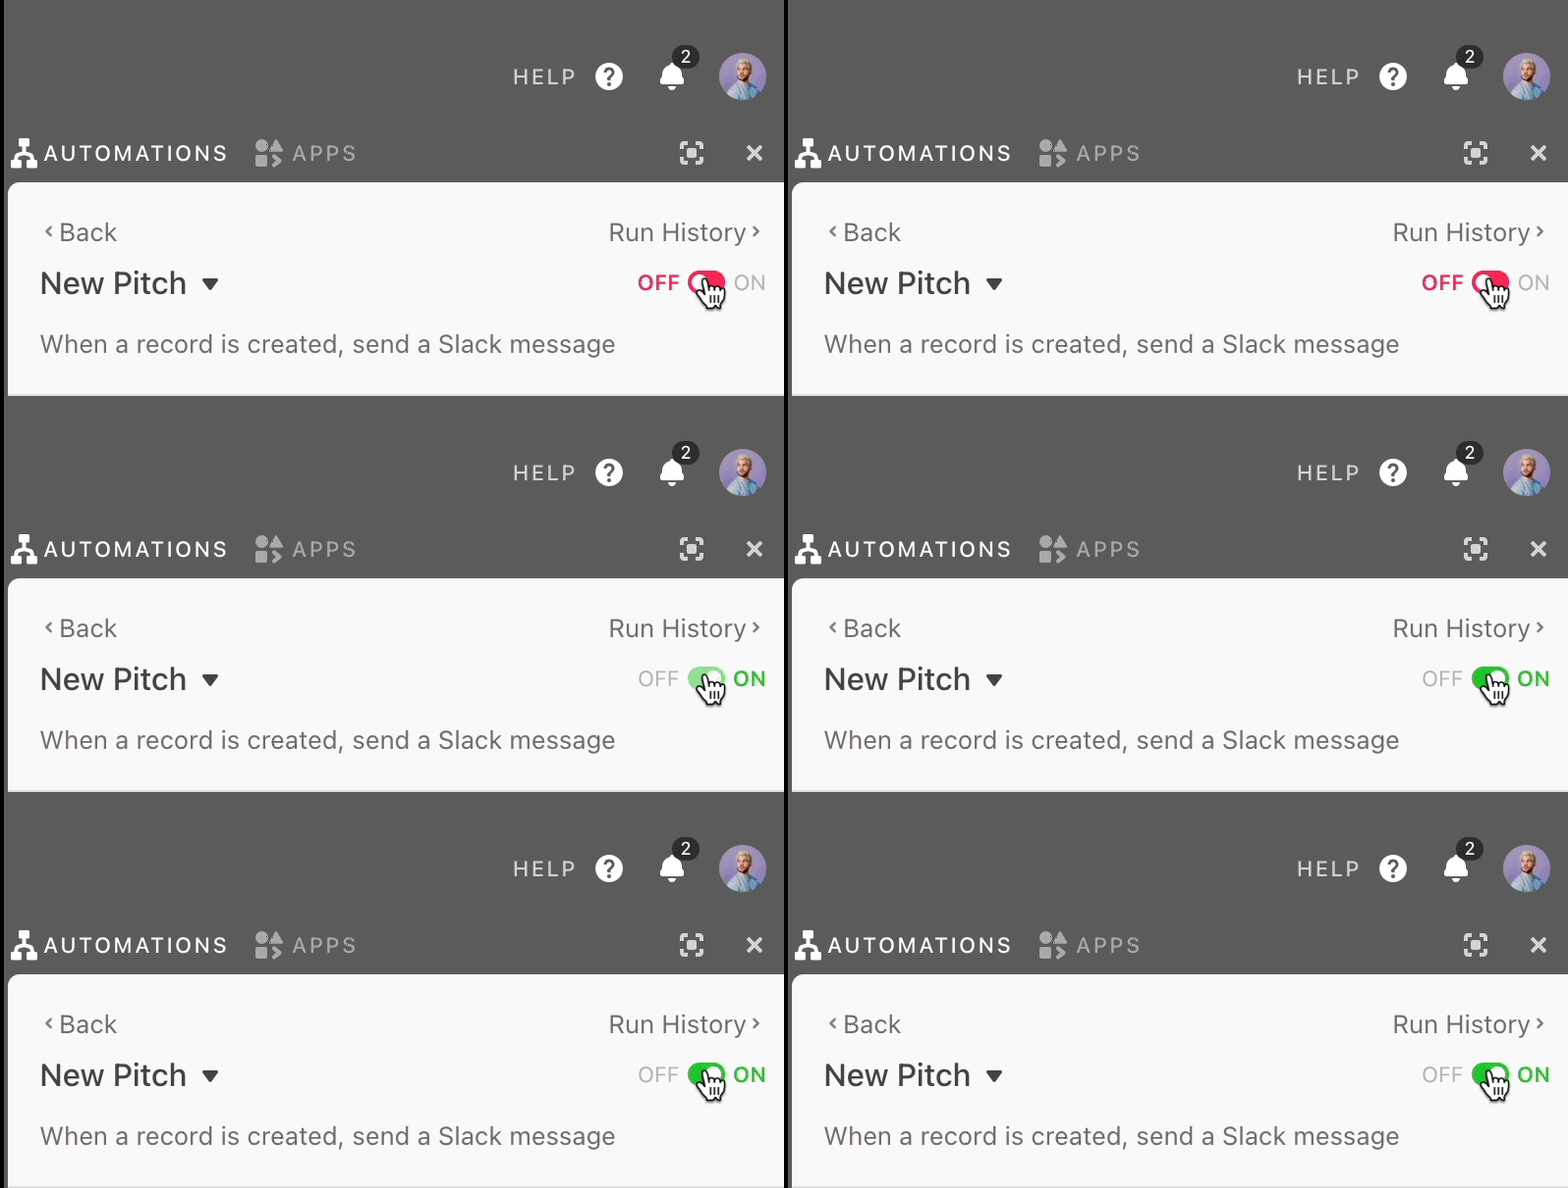
So now you have this amazing Slack notification all primed. But there’s a very important step left—you have to turn it on. In the top right hand corner, you’ll see a red toggle that says “OFF.” Go ahead and click it.
Congratulations, you’re done! If you’d like more help or just want to dig up some additional automation information, check out Automation overview to see just what’s possible with a simple trigger and an action.


