Commercial real estate management is the consummate juggling act. Closing deals means nonstop client interaction while simultaneously navigating the myriad steps and variables of your deal checklist. This places a premium on having the most up-to-date information available—and easily accessible—for you and your team. While typical transaction management systems may help consolidate some of this information in one place, they also tend to dictate specific workflows that chafe against the inherent dynamism of each customer and circumstance.
Airtable offers the power to centralize your entire CRE management workflow into a single source of truth—CRM included!—while giving you the flexibility to work in ways as unique as your business and clientele. Bases are fully customizable, living tools that allow you to store everything you need in your workflow but see only the information you want, when you want, in the way you want—it's the ideal transaction management tool, and the antidote to static, single-path CRE management solutions.
We'll show you how adding a CRM to your existing CRE management base can help you manage relationships, zero in on the details that matter to you, and unclutter your workflow so deals practically close themselves.
Create a connected contacts table
Let's begin by creating a contacts table (in this case, a list of clients, brokers, and more—anyone you need to maintain relationships with) and linking it to the rest of our tables. A linked contacts table is foundational to any CRM—it makes it easy to store, organize, and access information about individual people throughout your entire base. For maximum time savings, import an existing spreadsheet directly as a new table.
Create an interactions table
A table of contacts is vital for storing information about the people in your workflow, but this is usually just a jumping-off point. Adding an interactions table, which is great for recording information about specific moments, allows you to leverage your contacts table in new and useful ways.
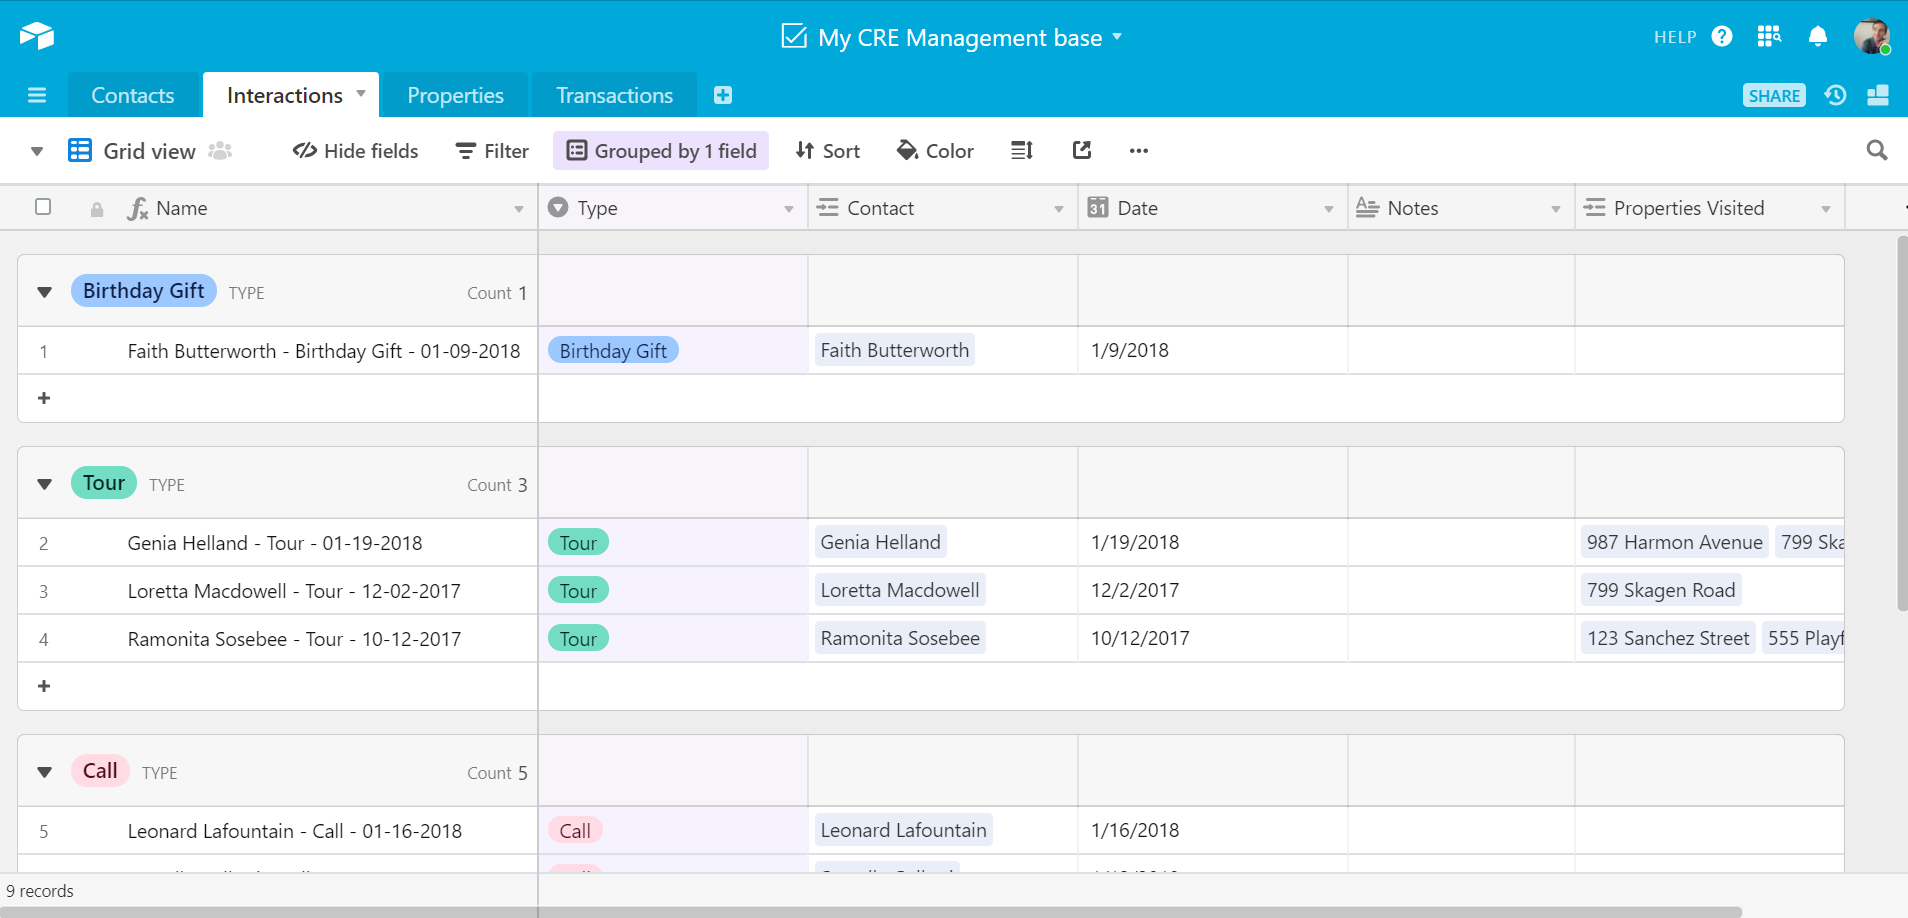
After creating your new table, you can populate it with important information—the guest's name, the date they viewed a property, and the properties they visited. We grouped the fields by type to separate the information and used the formulas function to combine the name, type of interaction, and date into one field. Consult our handy formula field reference to find the formula you need.
Gain additional insights
No matter how organized our tables are, it's challenging to keep track of multiple properties on the market, or of deals in various stages of their life cycle. Using views gives us the power to visualize the necessary details in different configurations, depending on your specific needs at a given point in time. In this case, let's take our existing Properties table and create a gallery view that we can use to share properties with our clients.
We can also hide fields and filter out unwanted records on our Transactions table to remove extraneous fields, allowing us to focus on the key elements of the deal at hand: the main players involved, documents needing a signature, a schedule of showings. Using a filter to home in on active listings is a great way to narrow your focus as you prioritize your time and attention.
So much of commercial real estate management is scheduling and keeping track of appointments—meetings, viewings, follow-ups. We can use Zapier, a service that allows users to connect the apps in their workflow, to create even deeper integrations within our base.
To save ourselves time, let's automate the creation of a Google Calendar event whenever we add a due date in our transaction management system. This Zap consolidates a lot of useful information in one place; it's customizable, ensuring we get the information we want (and need) without superfluous data. Everything we need is listed in a detailed calendar event, saving time and granting all-important peace of mind.
Adding a CRM to your base is just one of the ways Airtable can transform your commercial real estate management workflow. No more lost or forgotten data, spreadsheet juggling, and fixed-path "solutions"—with powerful, dynamic features that allow you to consolidate the information governing your day-to-day, Airtable gives you the flexibility of a transaction management system that works with you, not you for it.