You can always count on notifications to keep you up-to-date on changes, but they can quickly become a nuisance when you don’t have much control. With Airtable Automations, you can set up a simple flow that puts notifications where and when you actually want them.
You can send notifications via email, Slack, or Microsoft Teams to yourself, your colleagues, or even customers—all without ever leaving your base. Let’s take a look at how you can set up an automation that sends both an email notification and a Slack notification after a request form is submitted.
Setup
Make a copy of the base below if you want to test out a working setup—or you can follow these step-by-step instructions to create a notification automation in one of your own bases.
In order to build this automation, you’ll need a couple of ingredients. First, you’ll need an Airtable account with a base you want to use for this automation. You’ll also need an email, Slack, or Microsoft Teams account to receive the notifications.
Once you have those things ready to go, you’ll also need to determine the condition that will trigger these automations. To do that, pick a field in any of your tables and decide what kind of change you want to track. You can pick virtually any kind of change you like, whether it’s watching for a chosen option in a select field, reaching a deadline in a date field, or matching any other specific state you choose.
For instance, in the embedded base above you’ll find a single select field called "Status," which contains multiple options and an automation that triggers when this status field is in a specific state.
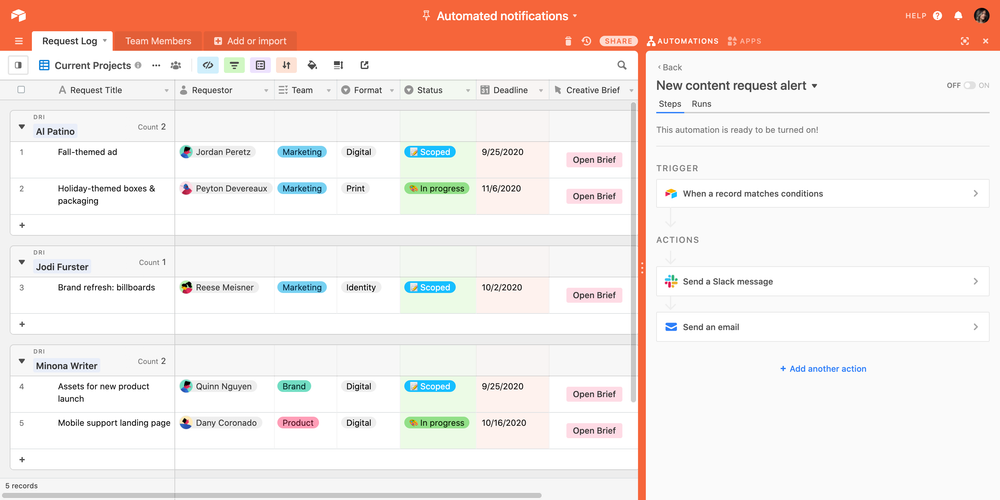
The example automation in this base sends notifications when the Status field is empty, indicating that a new request has been added to the Request Log table but has not yet been prioritized. We’ll continue discussing this example with each step of the process, but remember that you don’t have to adhere to the specifics of this example and can set up your conditional trigger however you like.
If you want to set up email notifications, you'll also need either an email field or a collaborator field to ensure that your automated email notifications make their way to the correct people.
Instructions
Now that you have everything you need and know what you want to accomplish you’re ready to create your automation.
Step 1: open your base and create a new automation
Open the base that you prepared following the Setup section above, then click the Automations button in the top right of your base. This will open the Automations side panel.
Once the side panel is open, click the blue“Create an automation” button.
If your base already has some automations, you can create a new one by clicking on the“+ New Automation” button above the existing automations. Feel free to rename it if you’d like.
Step 2: set up your trigger
Now let’s set up your trigger. First, click the blue “+ Choose a trigger” button and then select “When record matches conditions” from the options under the Airtable header.
Next, select the table you want to work with.
Now click the blue “+ Add condition” text, select the field you want to watch for updates from the available options, and choose the condition or conditions that meet your needs.
As you can see in the example above, we’re checking to see if the “Status” field is empty so that notifications trigger whenever the Request Log table receives a new request. You can follow this example if it meets your needs, but you could also set up other conditions based on your specific workflow. For example, you could have this automation trigger whenever the value in the "Status" field is "Needs approval," or you could have it trigger when the date value in the "Deadline" field is less than three days away—or you could have it trigger only when both of those conditions are met.
When you’ve chosen your condition, click the blue “Run test” link to make sure everything is working.
This test looks for a sample record to use for the action step(s) in your automation, so make sure you have at least one record in your chosen table that matches the conditions you set. In our example, that means we’d need to have a record that has an empty value in the “Status” field. This example base already has a record like this so we don’t need to create one, but if you don’t have a matching record in your table you should create one and run the test again.
Tip: if you have an email field or a collaborator field in your table, your test record should use your email address so you can receive the test email message! You won’t receive any test emails when testing the trigger step, but you will receive the test email when testing your action step/completed automation later on.
Once you have a successful test result, you can click “Test ran successfully” to see the resulting record if you’d like.
When you’re satisfied with your trigger, click “Done” to move on to the action step.
Step 3: set up the notification action
Actions are the tasks that get performed after a trigger fires. Our example base has a form that allows submission requests, so we’ll set up a couple of notifications that work well with this use case.
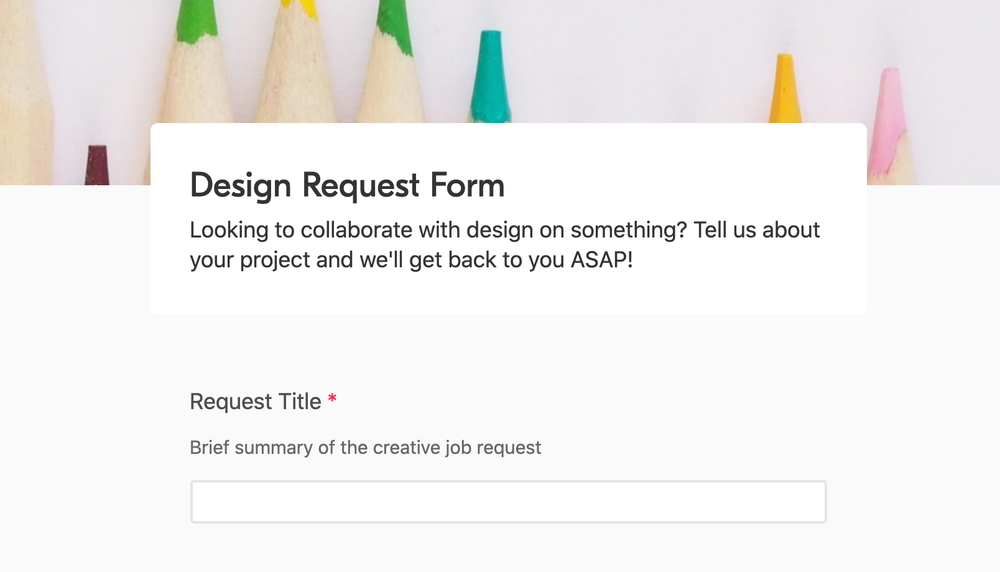
Whenever a request is made by a collaborator, we want to do two things: let them know the request was received successfully and notify our team that a new request has come in. For this example, we’ll notify the requesting collaborator via email and our team via Slack.
First, let’s start with the email notification for the requestor by clicking the blue “+ Add action” button and choosing “Send email” under the Airtable header.
You’ll now see three email-related fields (To, Subject, and Message) to fill out just like you would when composing a normal email. However, you can insert dynamic information into this message that comes from the fields in your base. When the notification triggers, that information will be filled in just like it was in the newly-created record.
This allows you to create a message to the customer that includes text relevant to their request. It also provides you with a means of specifying to whom the email should be sent. By clicking the “+” button in any of the fields, you can choose to insert information that comes from the triggering record in Step 1.
In this example, because we want to send an email notification to the collaborator who made the request, we’ll set the value of the “To” field to be “Record (Step 1: Trigger): Field values: Requestor: Email.” This will send the email notification to the email address of the collaborator who initially submitted the request.
We’ll also set the value of the “Subject” field to be the title of their request, “Record (Step 1: Trigger): Field values: Request Title.” We can include other details in the body of the message (in the “Message” field), along with some additional text to thank them for their submission and give the email a friendly tone.
Next, let’s set up a second action to send our team a notification via Slack. Just like before, add a new action, but this time choose the “Send a message” option under the Slack header. (Of course, you can substitute Microsoft Teams in this step if that’s your communication platform of choice.)
Now you can choose your Slack account and the channel where you want the message to appear.
If you haven’t yet connected a Slack account to Airtable Automations, just click the “+ Connect new account” option from the same drop-down menu and follow the simple steps that appear. Once you’ve made the connection, you can select it from the same menu if it isn’t automatically selected for you.
Finally, just like you did when setting up the email action, you can compose a notification message using a combination of custom static text typed by you and dynamic information obtained from the triggering record’s fields.

When you have your steps completed, make sure to run a test! You’ll receive an email at the email address you specified in your test record when you test the email action and a notification in your chosen Slack channel when you test the Slack action.
Feel free to set up more actions or fewer, and/or with different details, so that your automation suits your workflow. This example demonstrates one use case, but there are thousands of other combinations you can put together based on your specific needs.
Step 4: turn it on
If everything looks good and you’re happy with the results of your actions tests, go ahead and toggle your new automation on.
Now your notifications will be sent automatically whenever your condition is met.
If you want to create similar notifications, you don’t even have to go through these steps again. Instead, just click the downward-facing triangle next to this automation’s name and choose “Duplicate automation.”
This is just one of the ways in which you can use Airtable Automations to orchestrate a custom workflow. Have more Automations guides you’d like to see from us? Give us your suggestions on our community forums.
You can also sign up below to get notified by email whenever we post a new guide!