This is the second part of a guest post from database design expert and author Tim Dietrich, an honorary Airtable MVP. Check out part one here.
In Part 1 of this guide, you learned how to migrate data from FileMaker to Airtable. You migrated the Prospects table from the sample FileMaker database to Airtable, and then configured the new table with the best possible column types.
In Part 2, you’ll migrate the Activity table from FileMaker to Airtable, and learn how to “reconnect” the activity records with the correct records in the Prospects table.
Export the Activity Table from FileMaker
The process of exporting the records from the Activity table is very similar to the process that you used to export the Prospects.
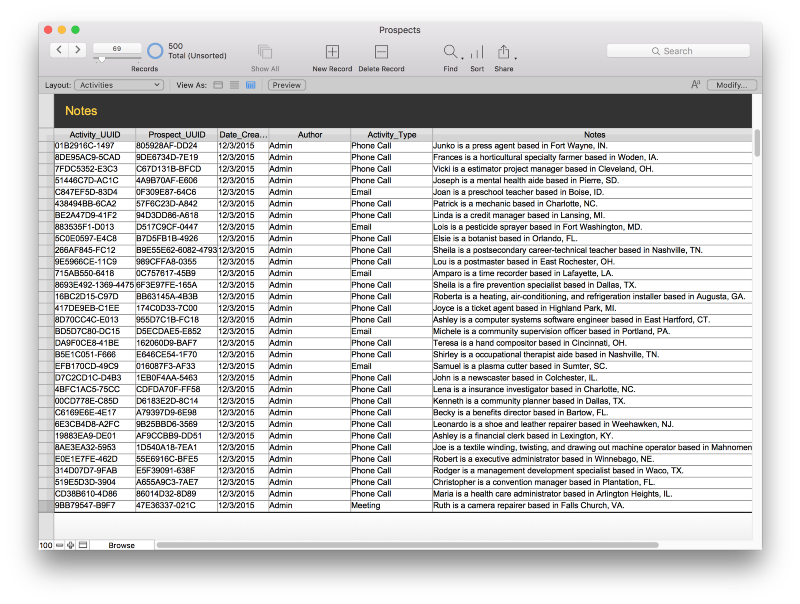
Start by navigating to a layout that is based on the Activity table. Then make sure that you have all of the table’s records in your found set. The easiest way to do that is to select Records > Show All Records.
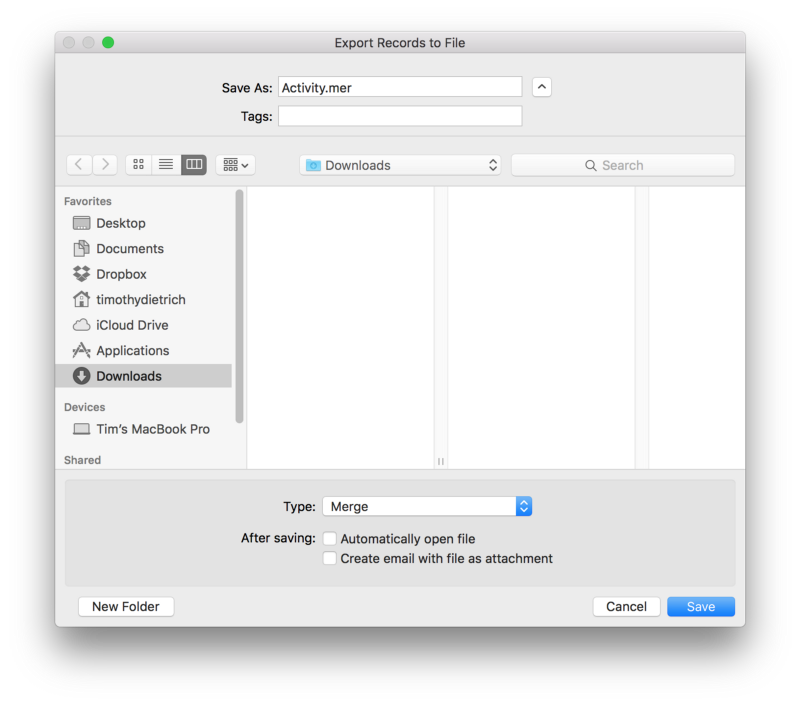
Next, select File > Export Records. The “Export Records to File dialog will appear.
Select a location and a file name to export your data to. For the file Type, select “Merge.”
Click the Save button to continue. The “Specify Field Order for Export” dialog will appear. Remember to select the “Current Table” option.
Select all of the fields that are in the Current Table. You can simply click the Move All button to so.
You also want to export the “Full_Name” field from the Prospects table. (You’ll use the “Full_Name” field to re-establish the relationships between the Activity and Prospects table in Airtable.) To select that field, select Prospects from the drop-down menu, locate the field in the list, and either double-click it or click the “Move” button to add it to the list of fields that are to be exported.
Set the field export order so that the “Activity_Name” field is the first field in the list. As you learned in Part 1, Airtable uses the first field as the primary column when importing tables. Scroll down to find the field, then drag it to the top of the list.
Finally, click the Export button to export the records to the file.
Import Data Into Airtable
Before importing the Activity table, remember to rename the file that you created earlier. Change the file’s extension from “.mer” to “.csv.” As we discussed in Part 1, this will make it easier for you to select the file for importing into Airtable.
When you imported the Prospects table, you created an entirely new Airtable database. You’re going to want to import the Activity table into that same Airtable database. To get started, log into Airtable and open the Prospects database.
To import the table, click the “+” button, which is located next to the “Prospects” tab. Select the “Import a spreadsheet” option. The Import Spreadsheet dialog will appear.
Click the “Choose a .CSV file” button. The Choose File dialog will appear.
Next, either drag and drop the file that you created earlier on to the window, or click the “Choose File” to locate and select the file. Airtable will immediately create your new database, as well as a table for your data, and load the data into the table. When it is done, a new icon will appear on the Airtable Home screen.
Change the name of the new table to “Activity.” The table should look something like this.
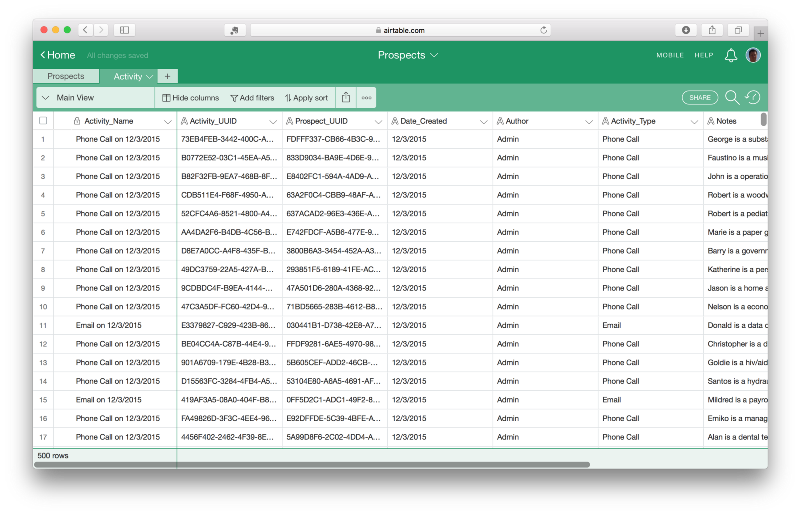
Cleaning Up The Airtable Database
As you did in Part 1, you might want to take a few minutes to configure the new Activity table with the best possible the column types. For example, you might want to change the Date_Created column to a Date type, and change the Activity_Type to a “Single select” type.
You might also want to hide some of the columns that aren’t necessary for this view, including Activity_UUID, Prospect_UUID, and Author.
Re-Establishing Relationships
The last step is to re-establish the relationships between Prospects and their Activity records. Airtable makes that an incredibly easy thing to do.
When you exported the Activity records from FileMaker, I had you export the “Full_Name” field from the Prospects table. In Airtable, “Full_Name” was also used as the primary column on the Prospects table.
Therefore, all that’s involved in establishing relationships between the two tables — and preserving existing relationships — is to change the column type for the “Full_Name” column. Change it from “Single line text” to “Link to another record.” Select the “Prospects” table, click Save, and Airtable will take it from there.
At that point, the relationship between the Prospects and Activity tables will be established. And again, any existing relationships will be restored. You can see this in both the Activity table…
And the Prospects table…

How cool is that?!?
Here’s what happened: Airtable took the values in the Full_Name column from the Activity table, and matched them to the corresponding records in the Prospects table. Behind the scenes, those relationships are using Airtable’s “real” record IDs. So if you change a prospect’s name, the relationship to records in the Activity table will be maintained.
Wrapping Up
In Part 2 of this guide, you’ve learned how to:
-
Migrate additional tables from FileMaker to Airtable.
-
Re-establish relationships between related tables.
Now that you have your data migrated from FileMaker, you can take full advantage of the features that Airtable offers.
Click here and here to check out some of Tim’s other guest posts.
[Note: In this version of the post, instances of “Name column” have been replaced with “Primary column.”]